Part 1: Creating Paint Layers
Set Up Your Paint Inventory
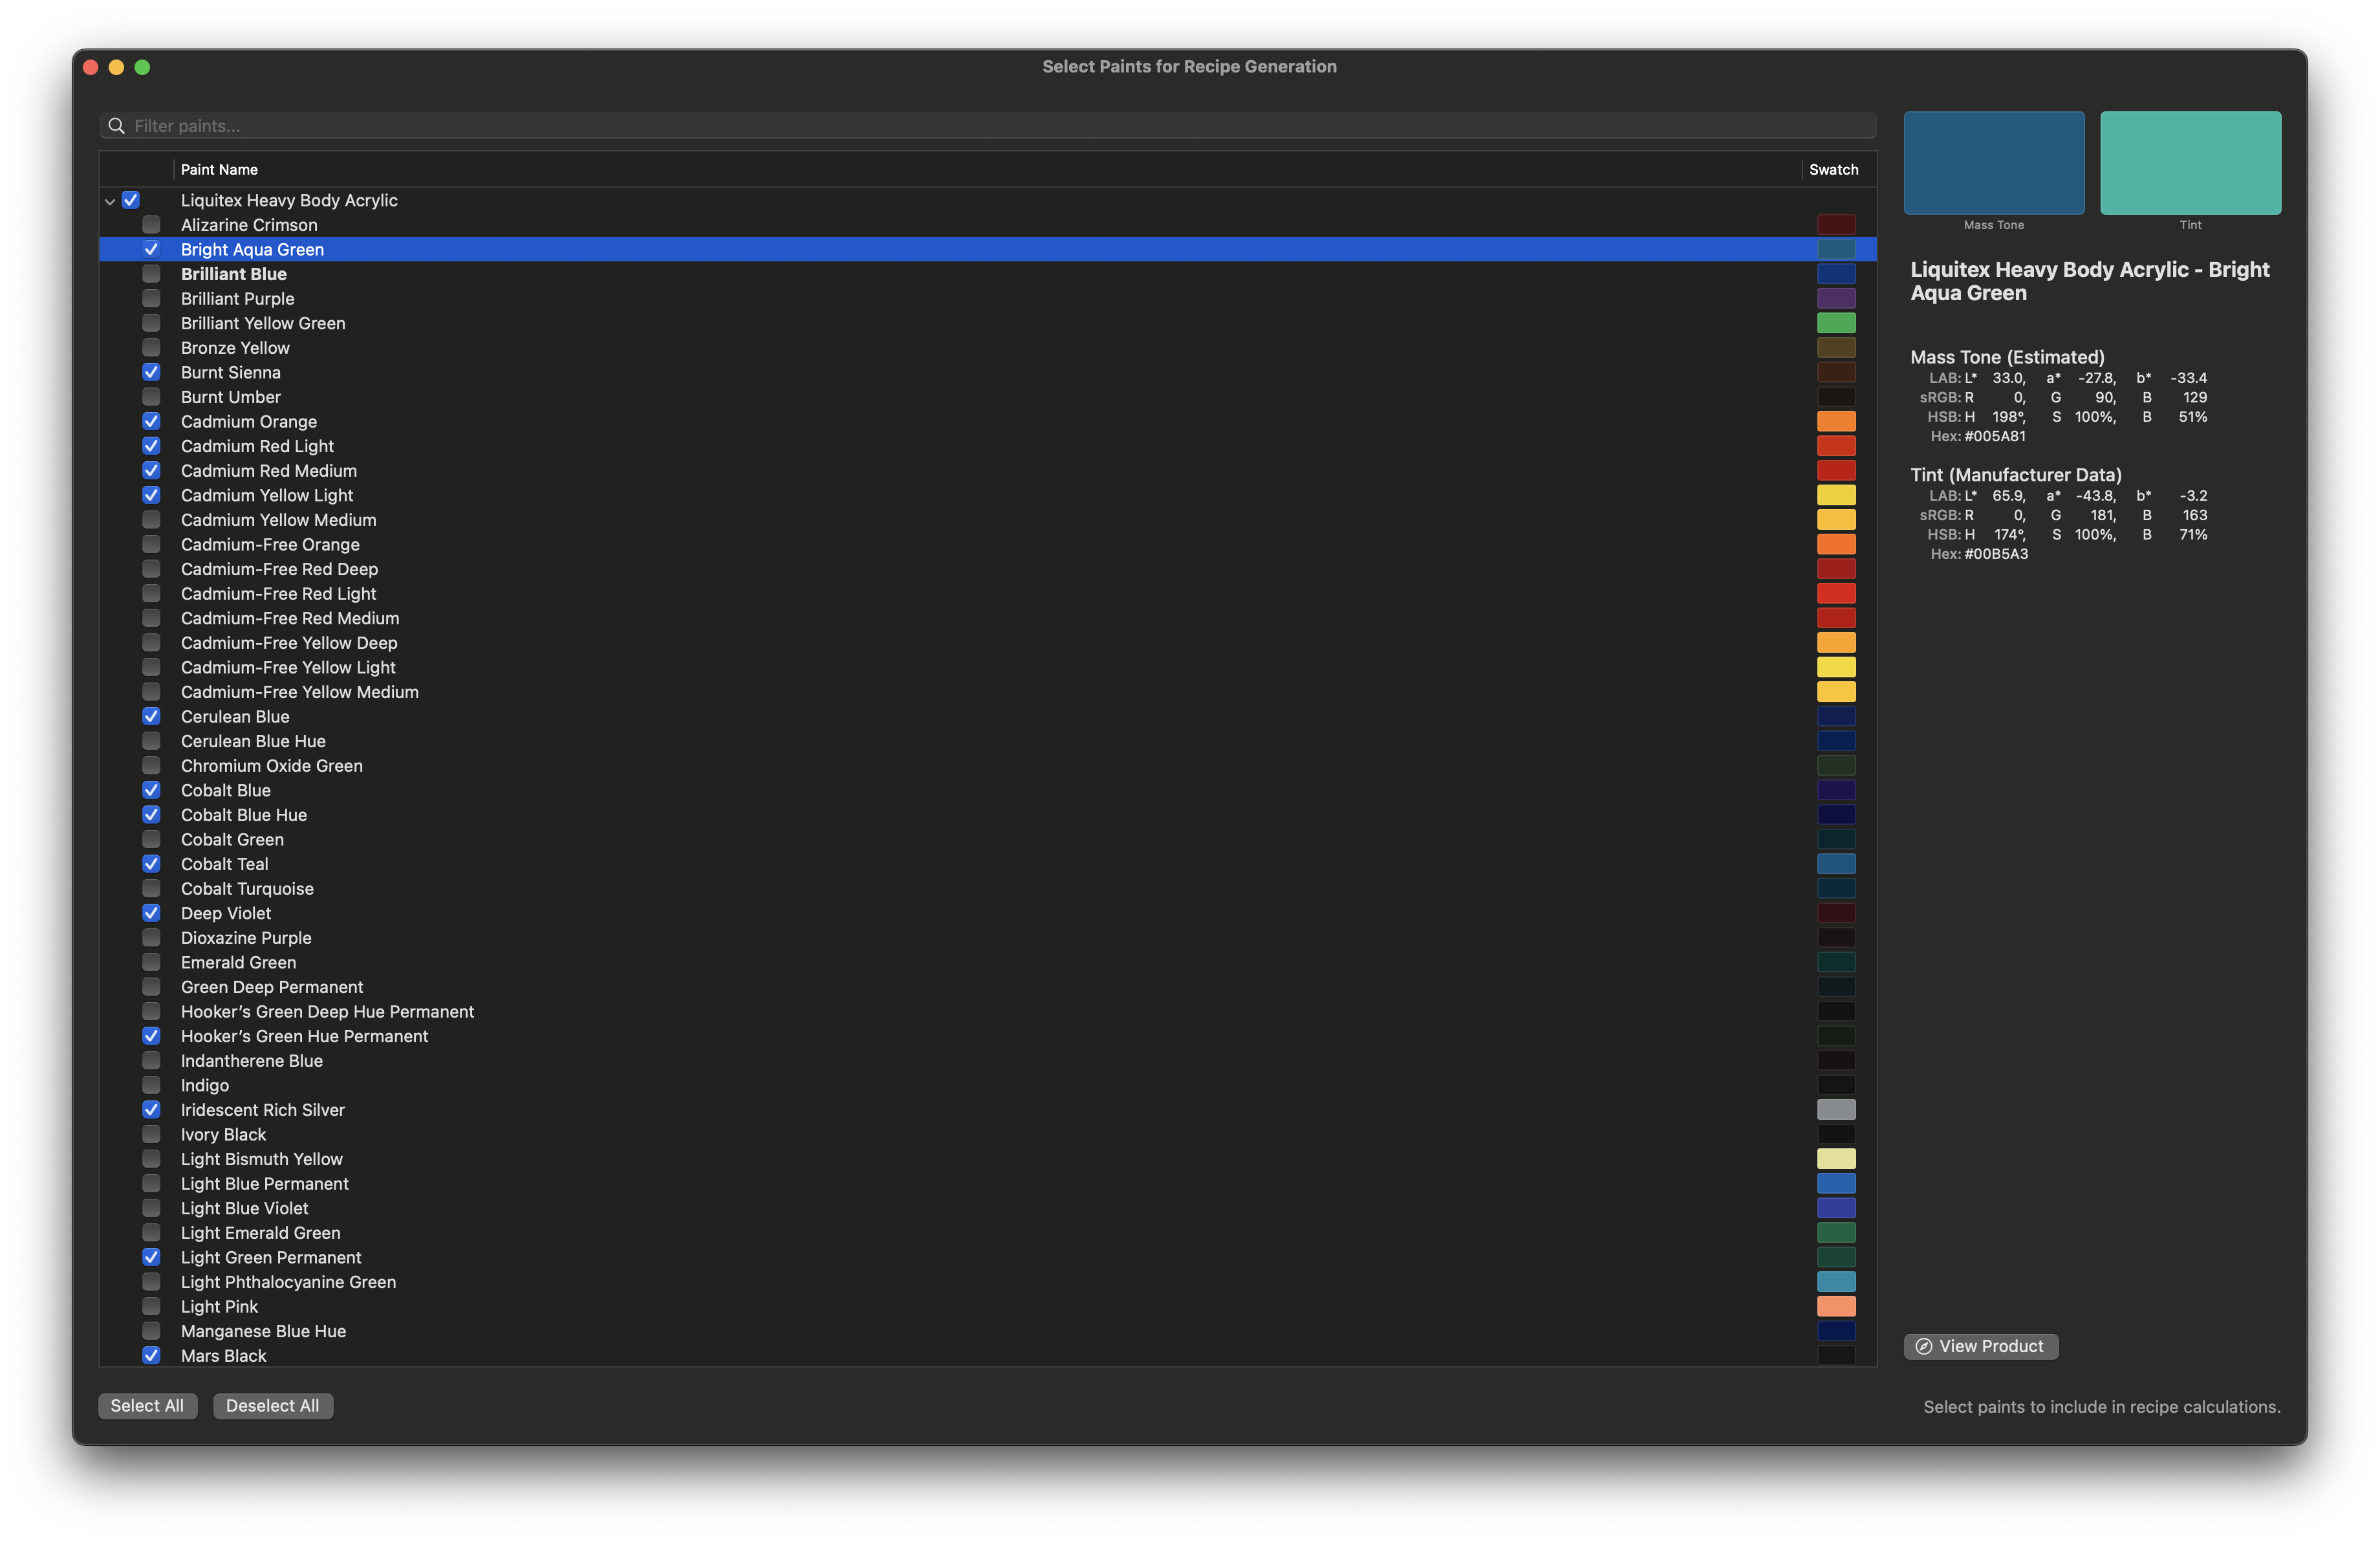
If you're working with Liquitex Heavy Body acrylic paints, open Paint Layers and navigate to Select Paints. Update your inventory checkmarks to match the paints you actually have available.
Configure Your Project Settings
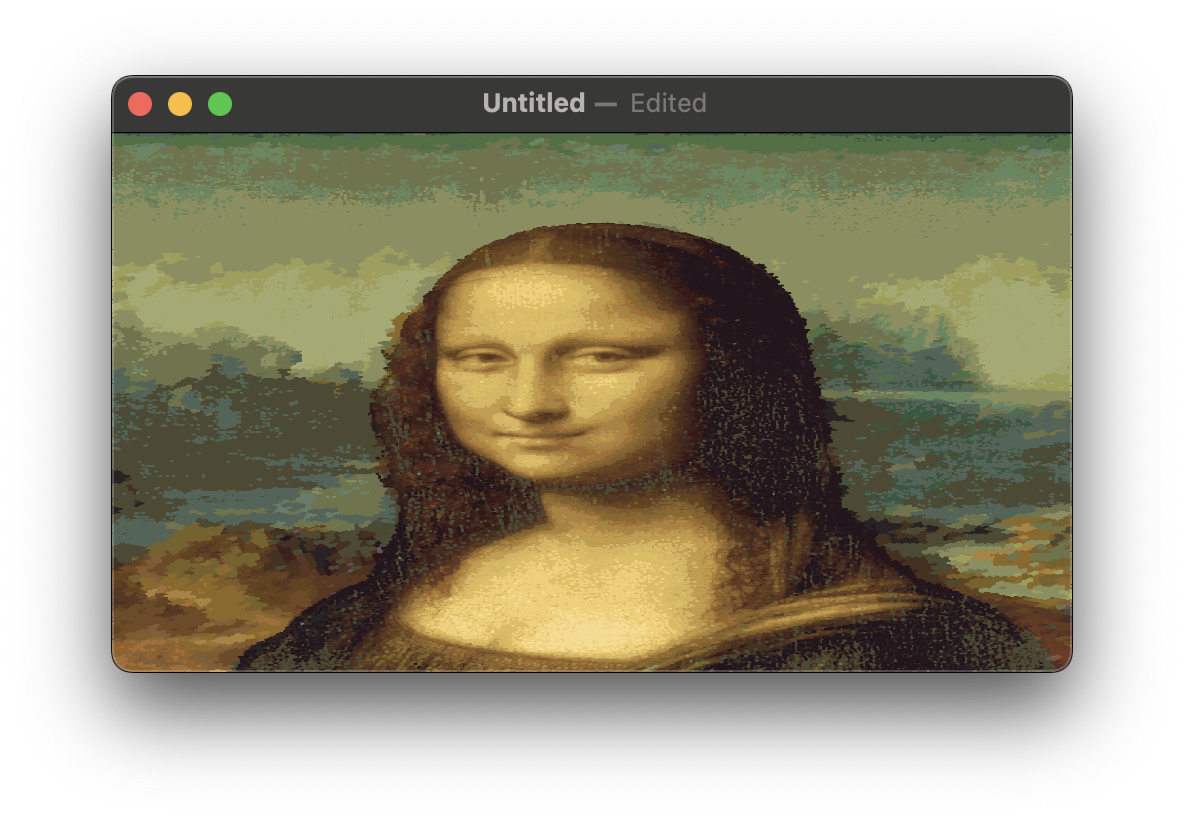
- Select and prepare the image you want to paint
- Choose your physical canvas and determine its size in millimeters
- Crop your source image to match your target canvas aspect ratio
- Set minimum stroke thickness based on your smallest brush size
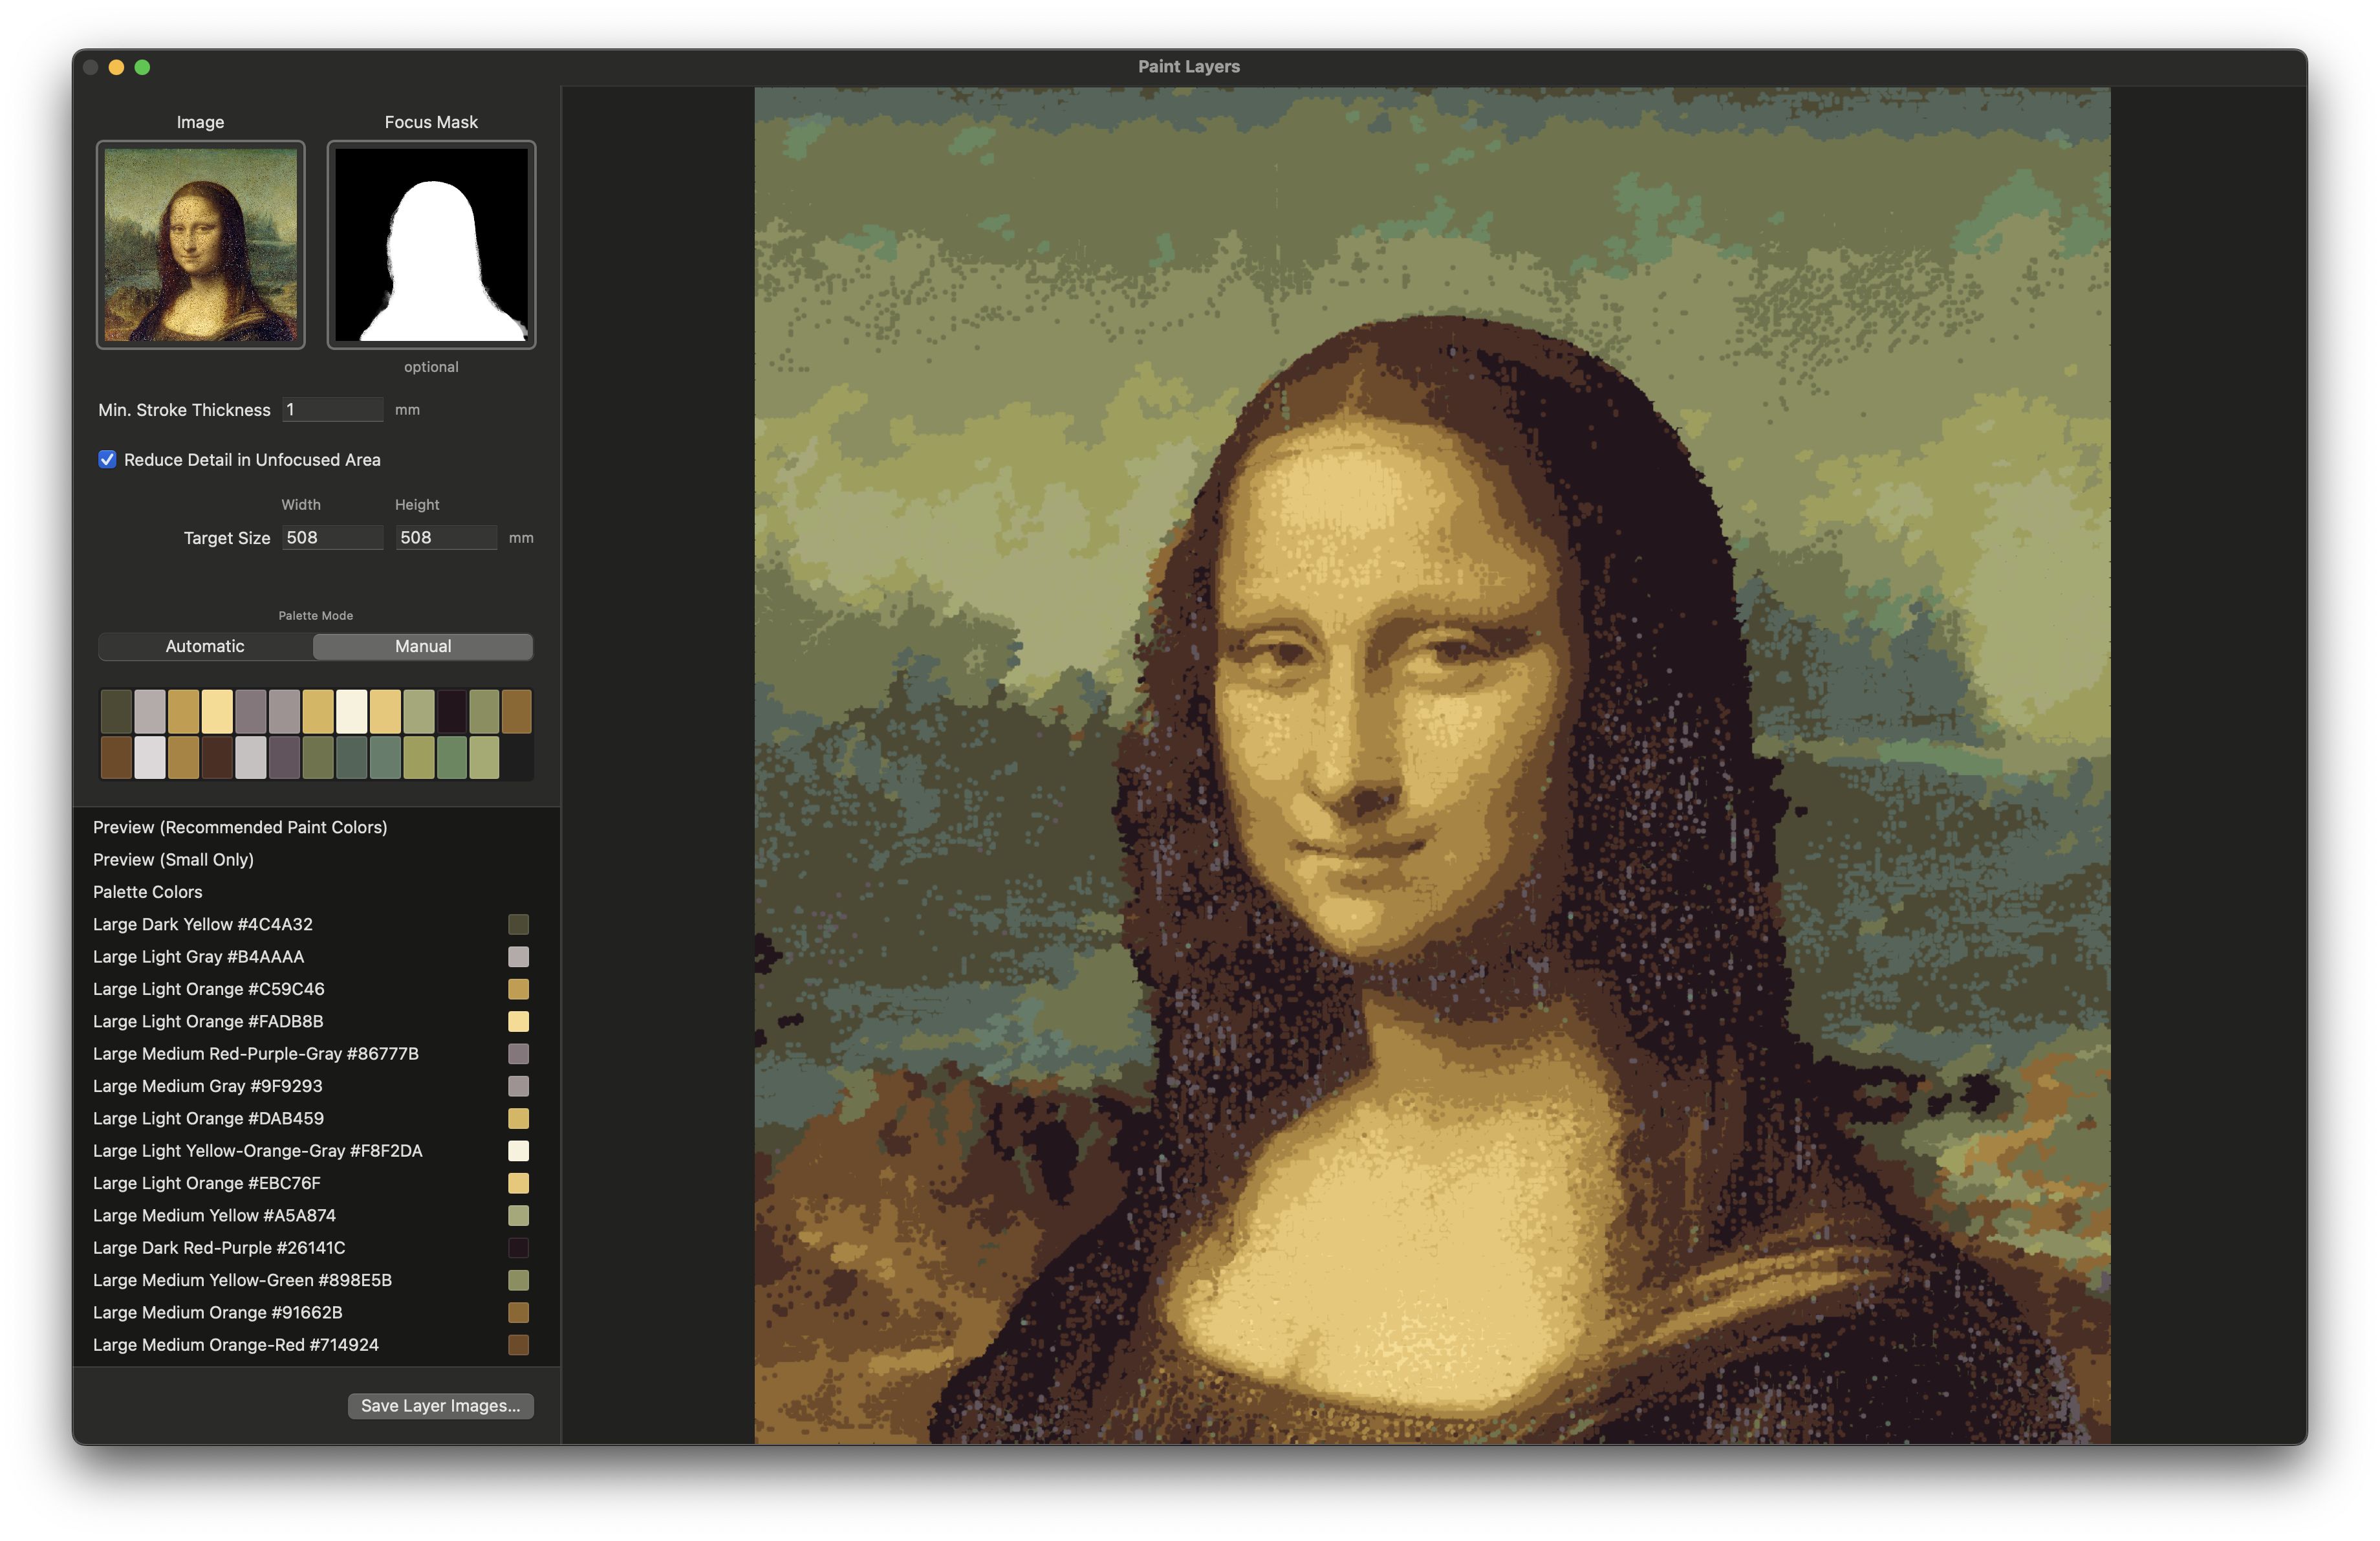
- Enter your canvas size as the target size
- Start with automatic palette mode for best results

Refine Your Color Palette
Experiment with different values for max colors in focused and unfocused areas. If you don't like the automatic results, you can manually edit the palette or use Option/Option+Shift to sample colors directly from your source image.
Advanced Palette Sampling
For areas with unwanted banding, aggressively sample those regions to improve color accuracy. This technique helps achieve smoother transitions in your final painting.
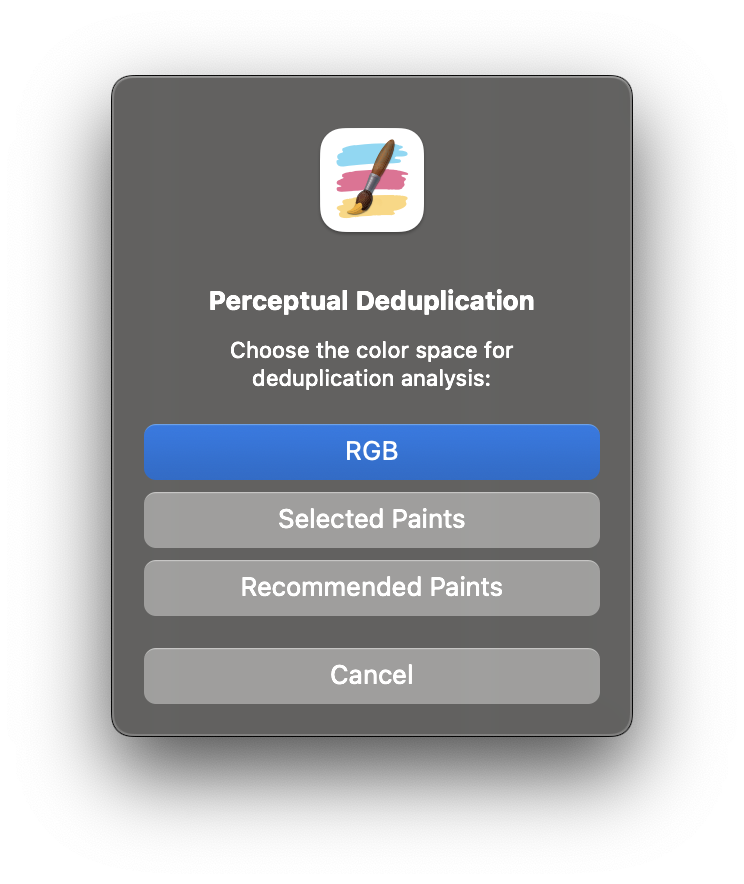
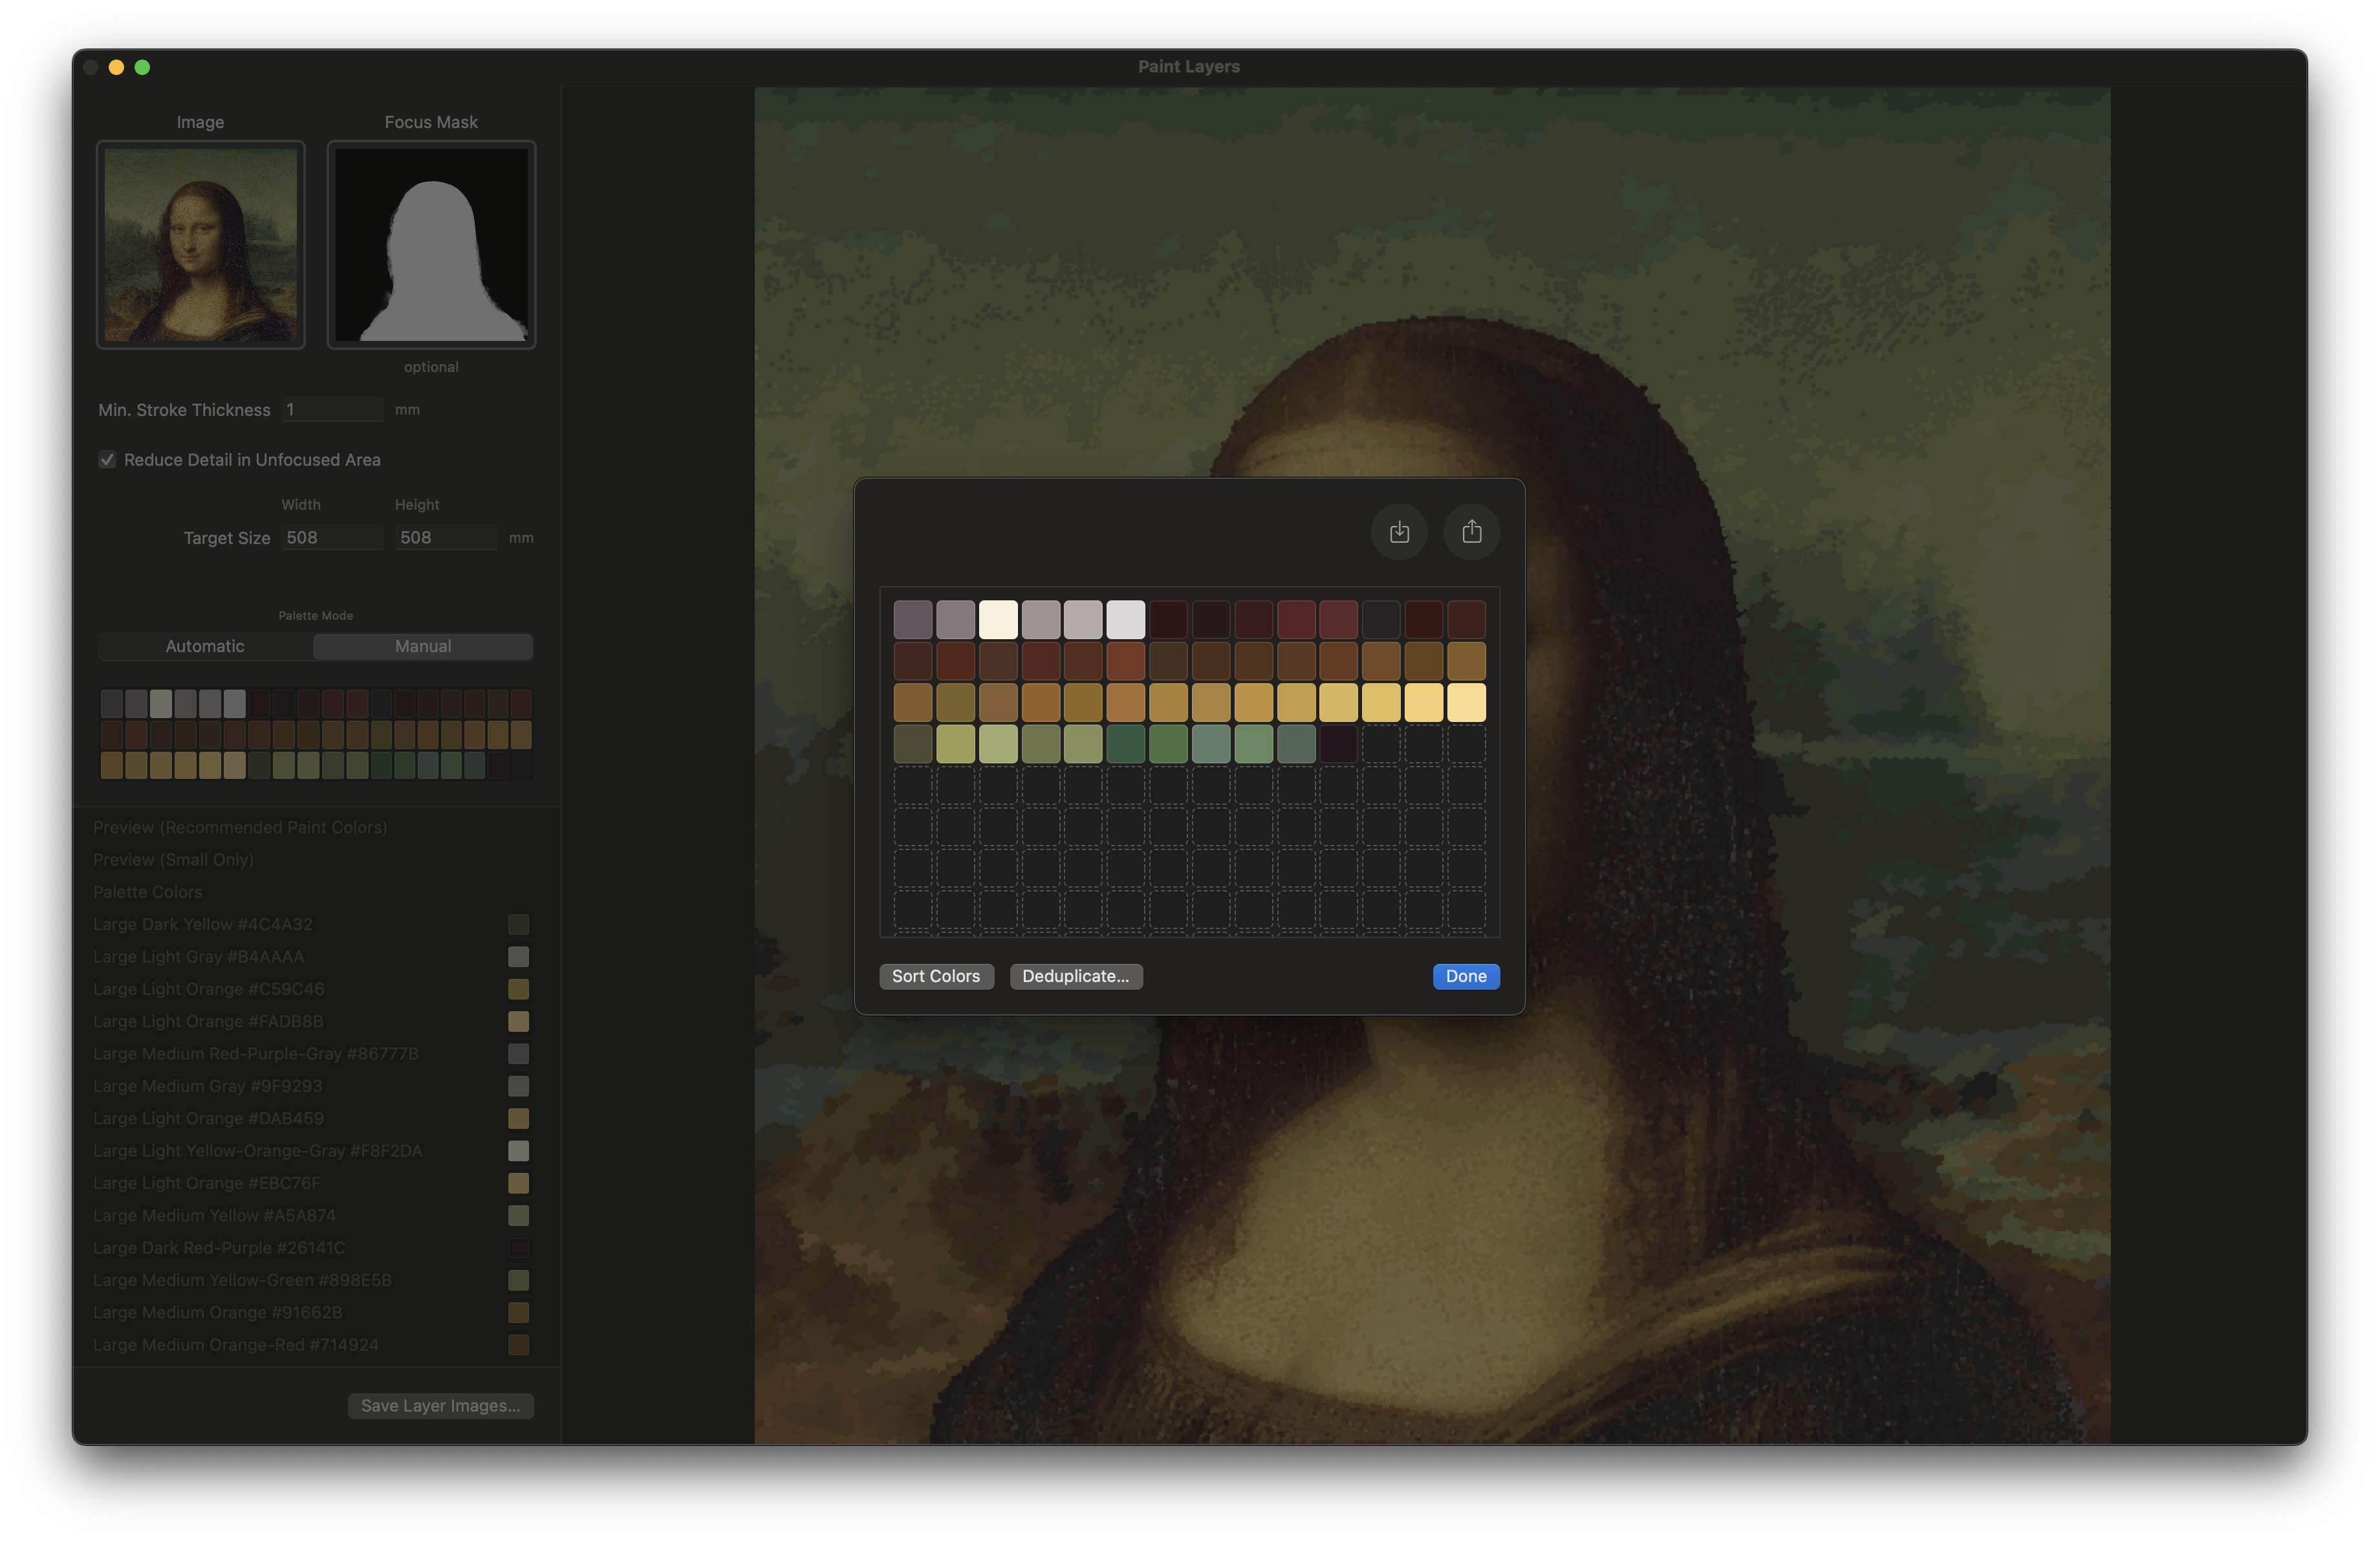
Optimize Your Palette
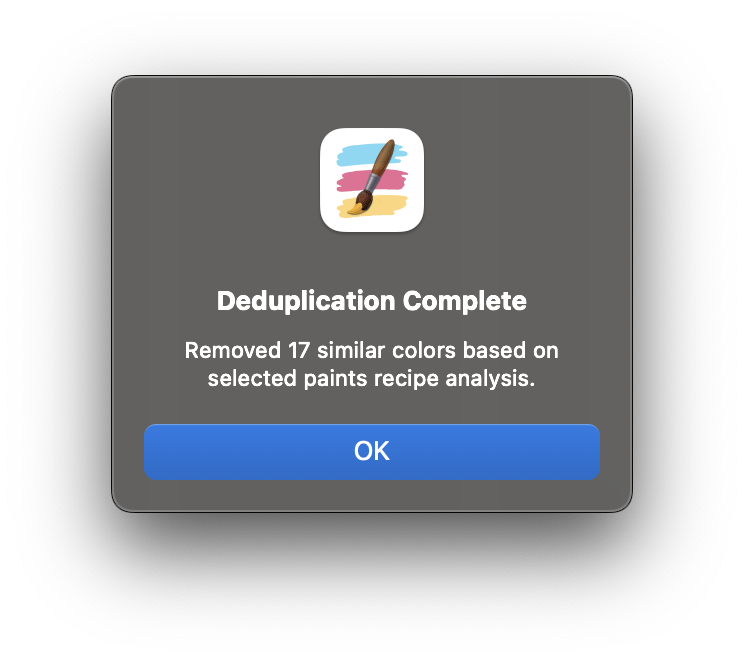
Open the palette editor and use the deduplicate function to perform perceptual deduplication, removing similar colors to streamline your painting process.
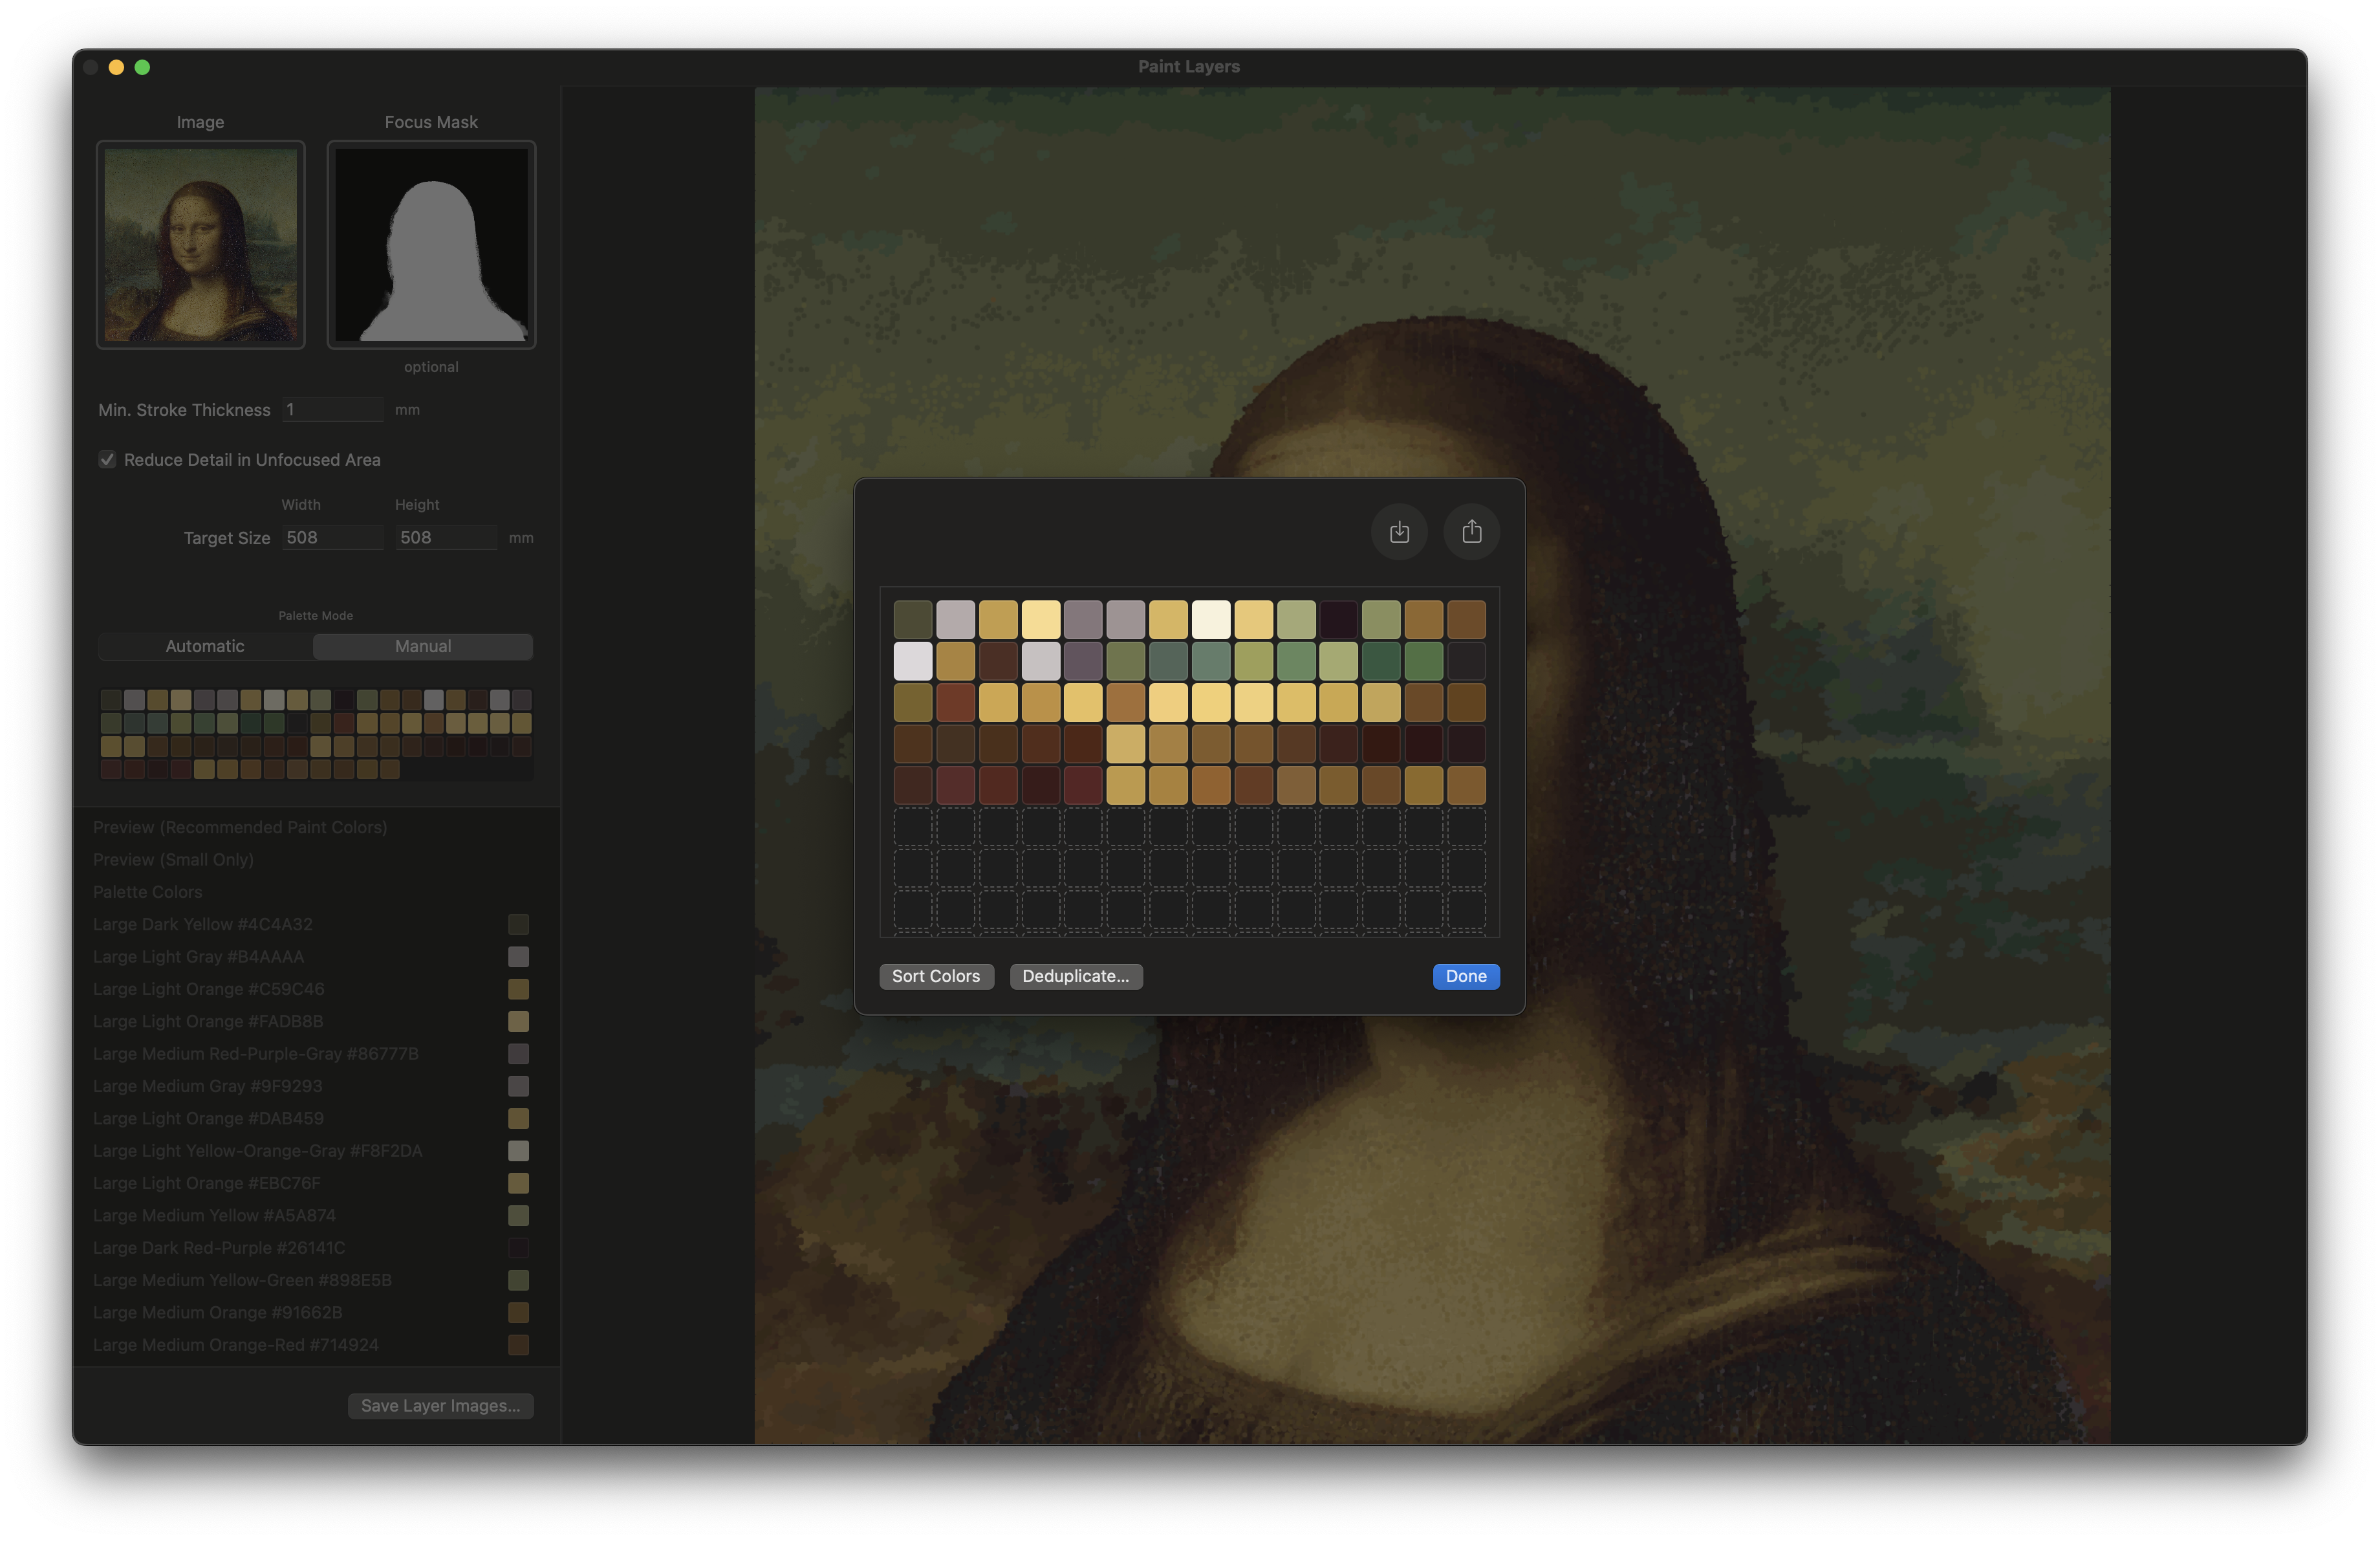
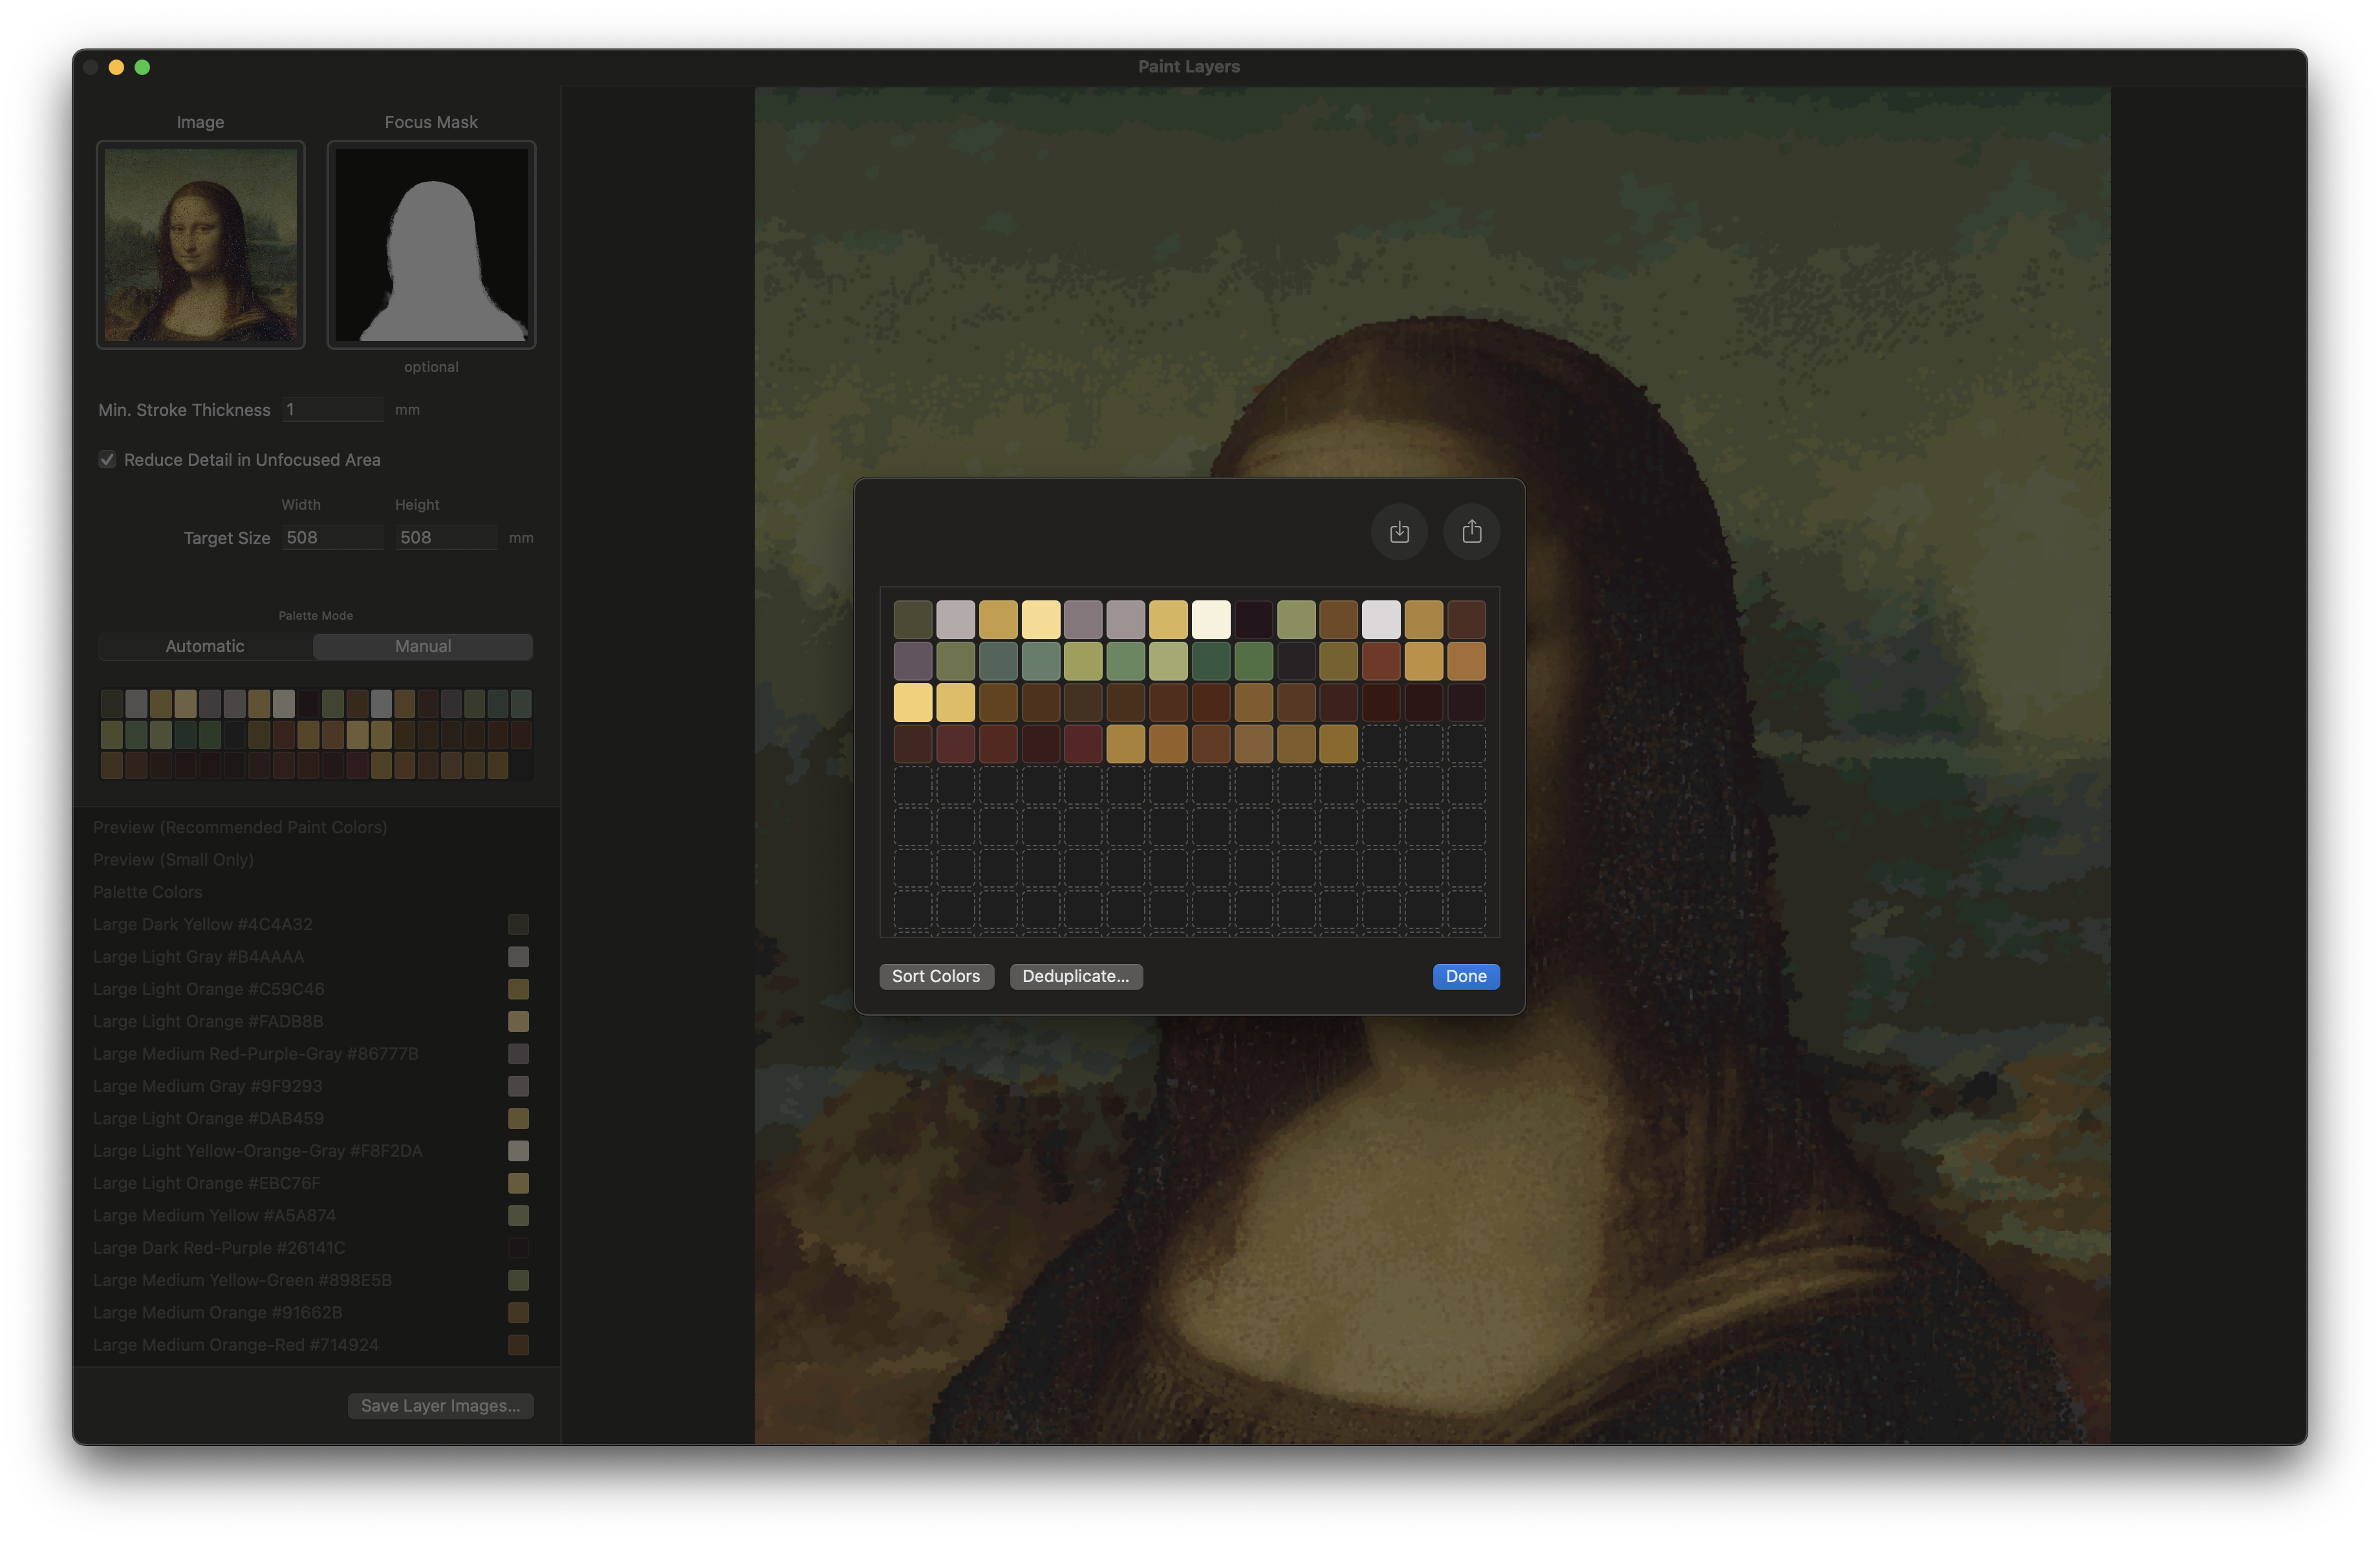
Tip: Use the sort palette button to better visualize your colors. This doesn't affect the actual layer order but helps you understand your color relationships.
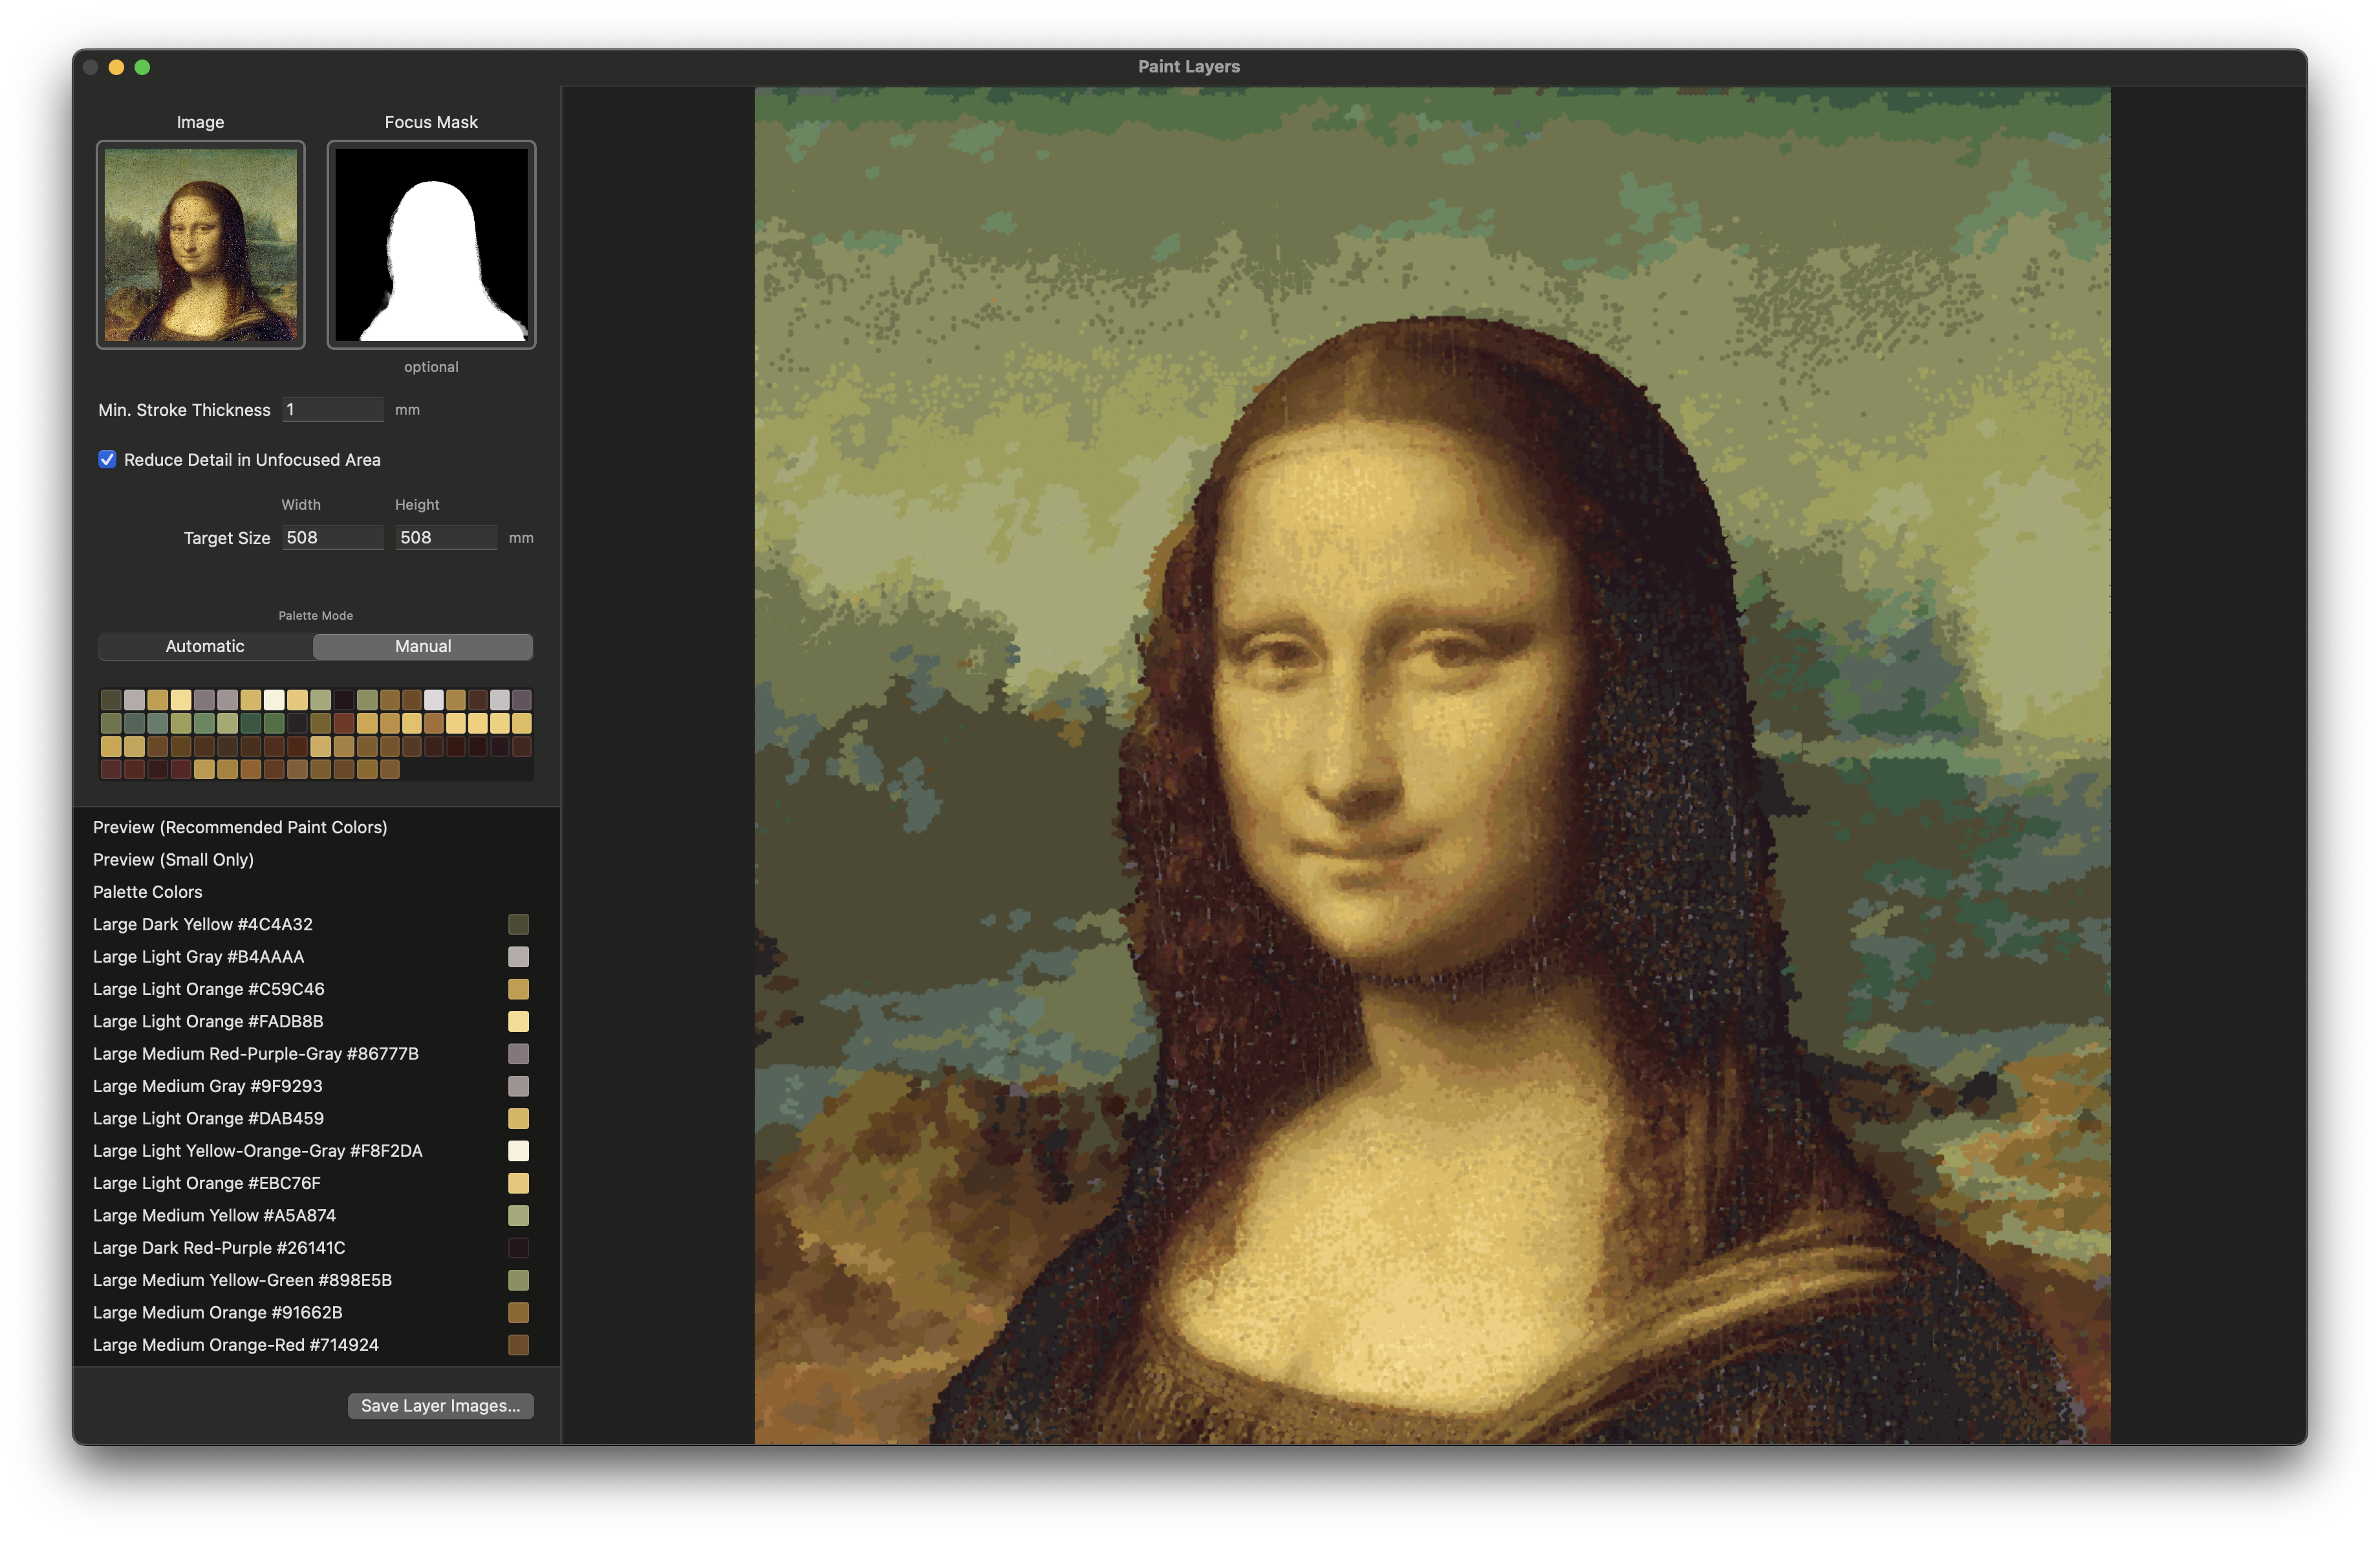
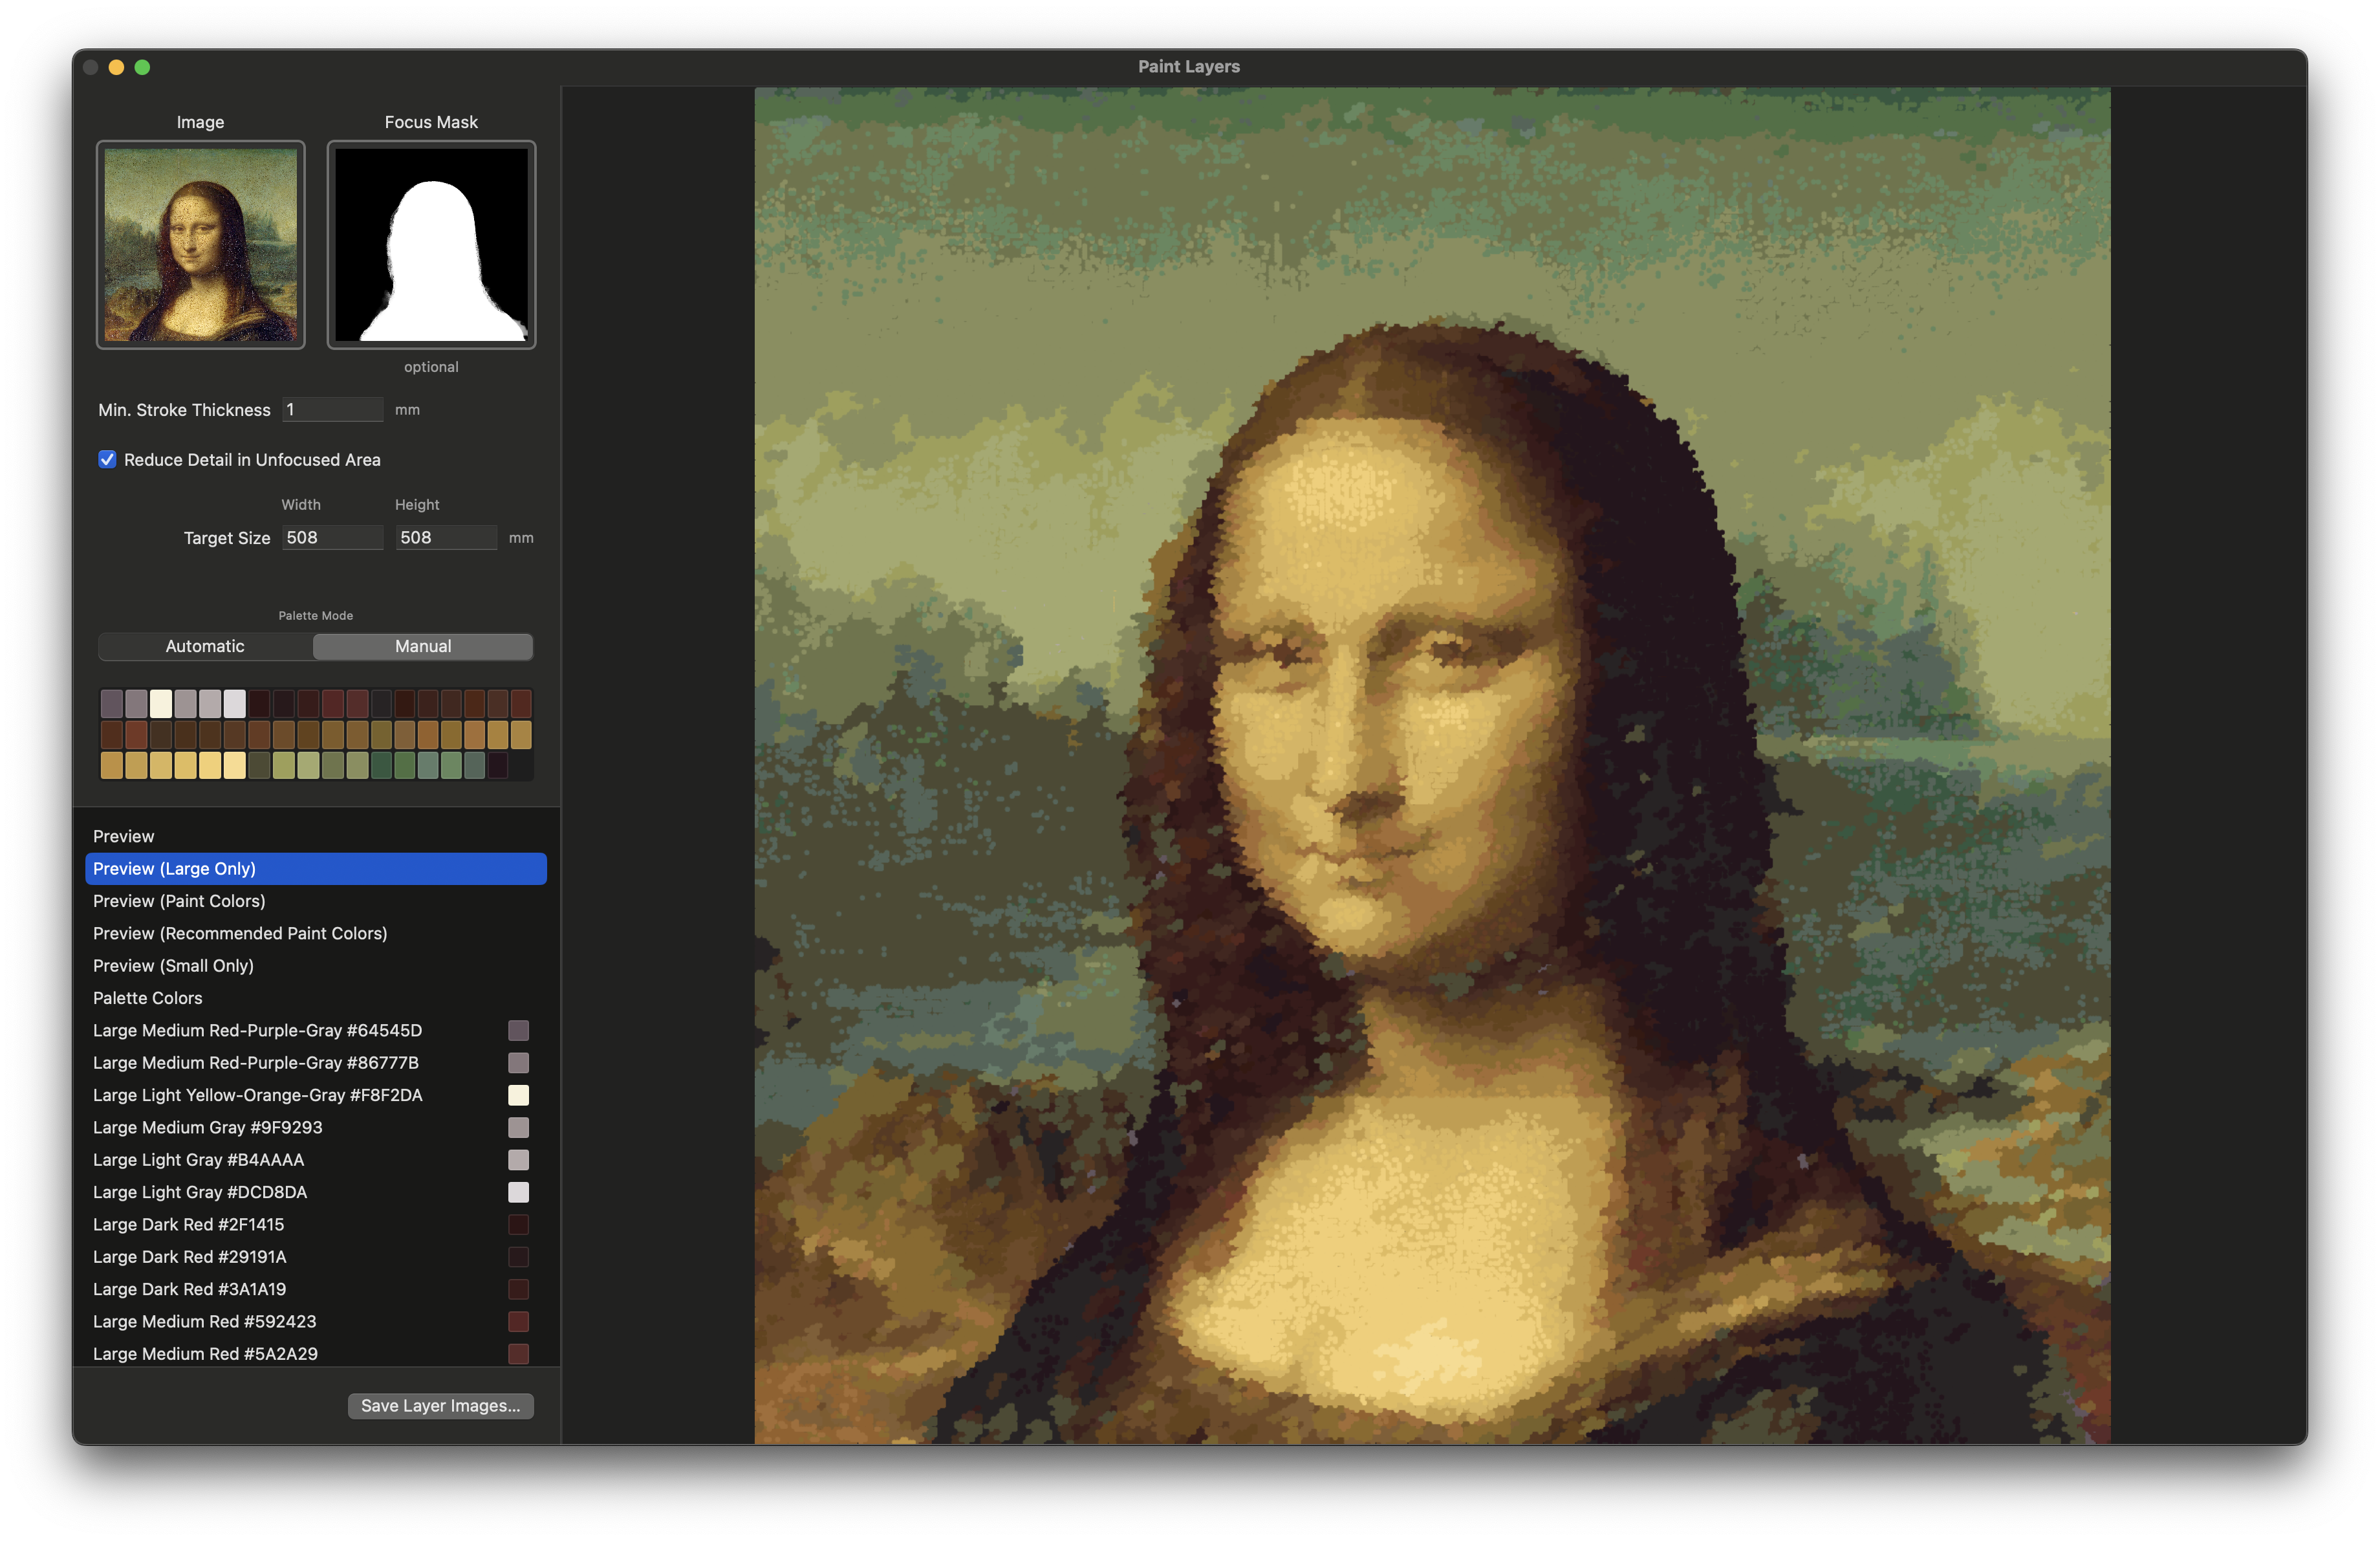
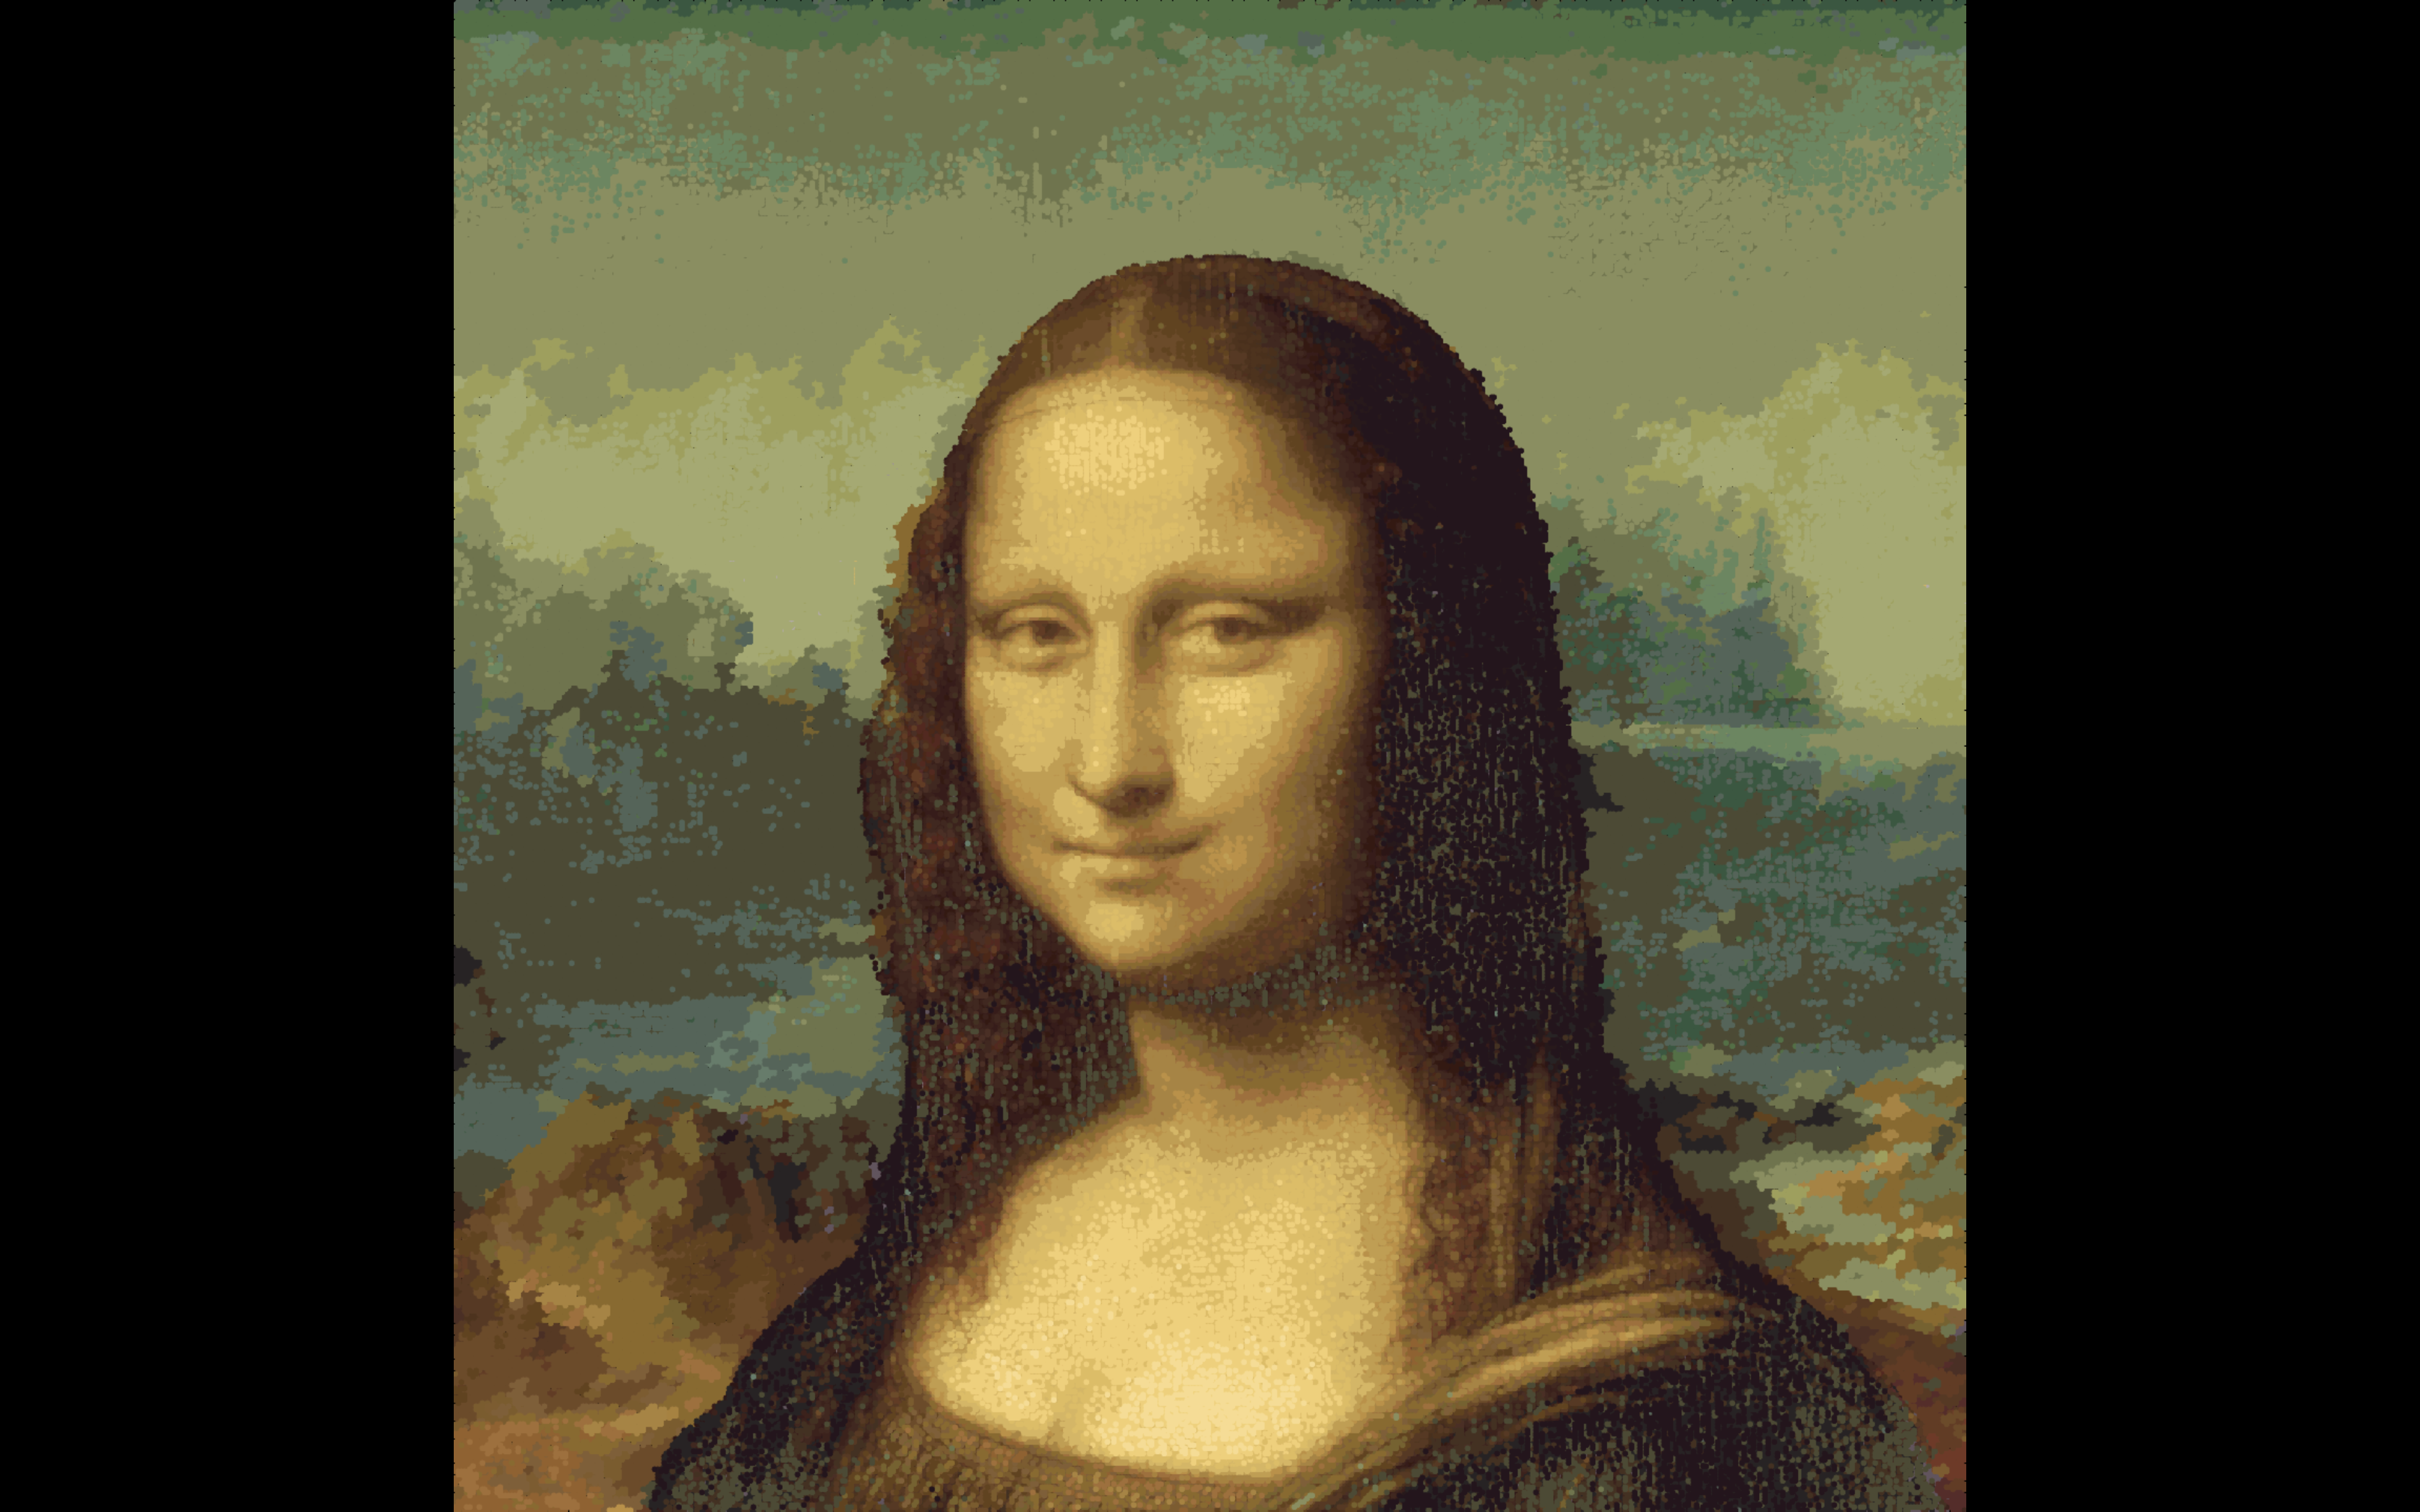
Review Your Previews
Check the Paint Colors preview and Recommended Paint Colors preview to see how your painting will look with real paints. If recommendations look significantly better, consider purchasing those specific paints for better color accuracy.

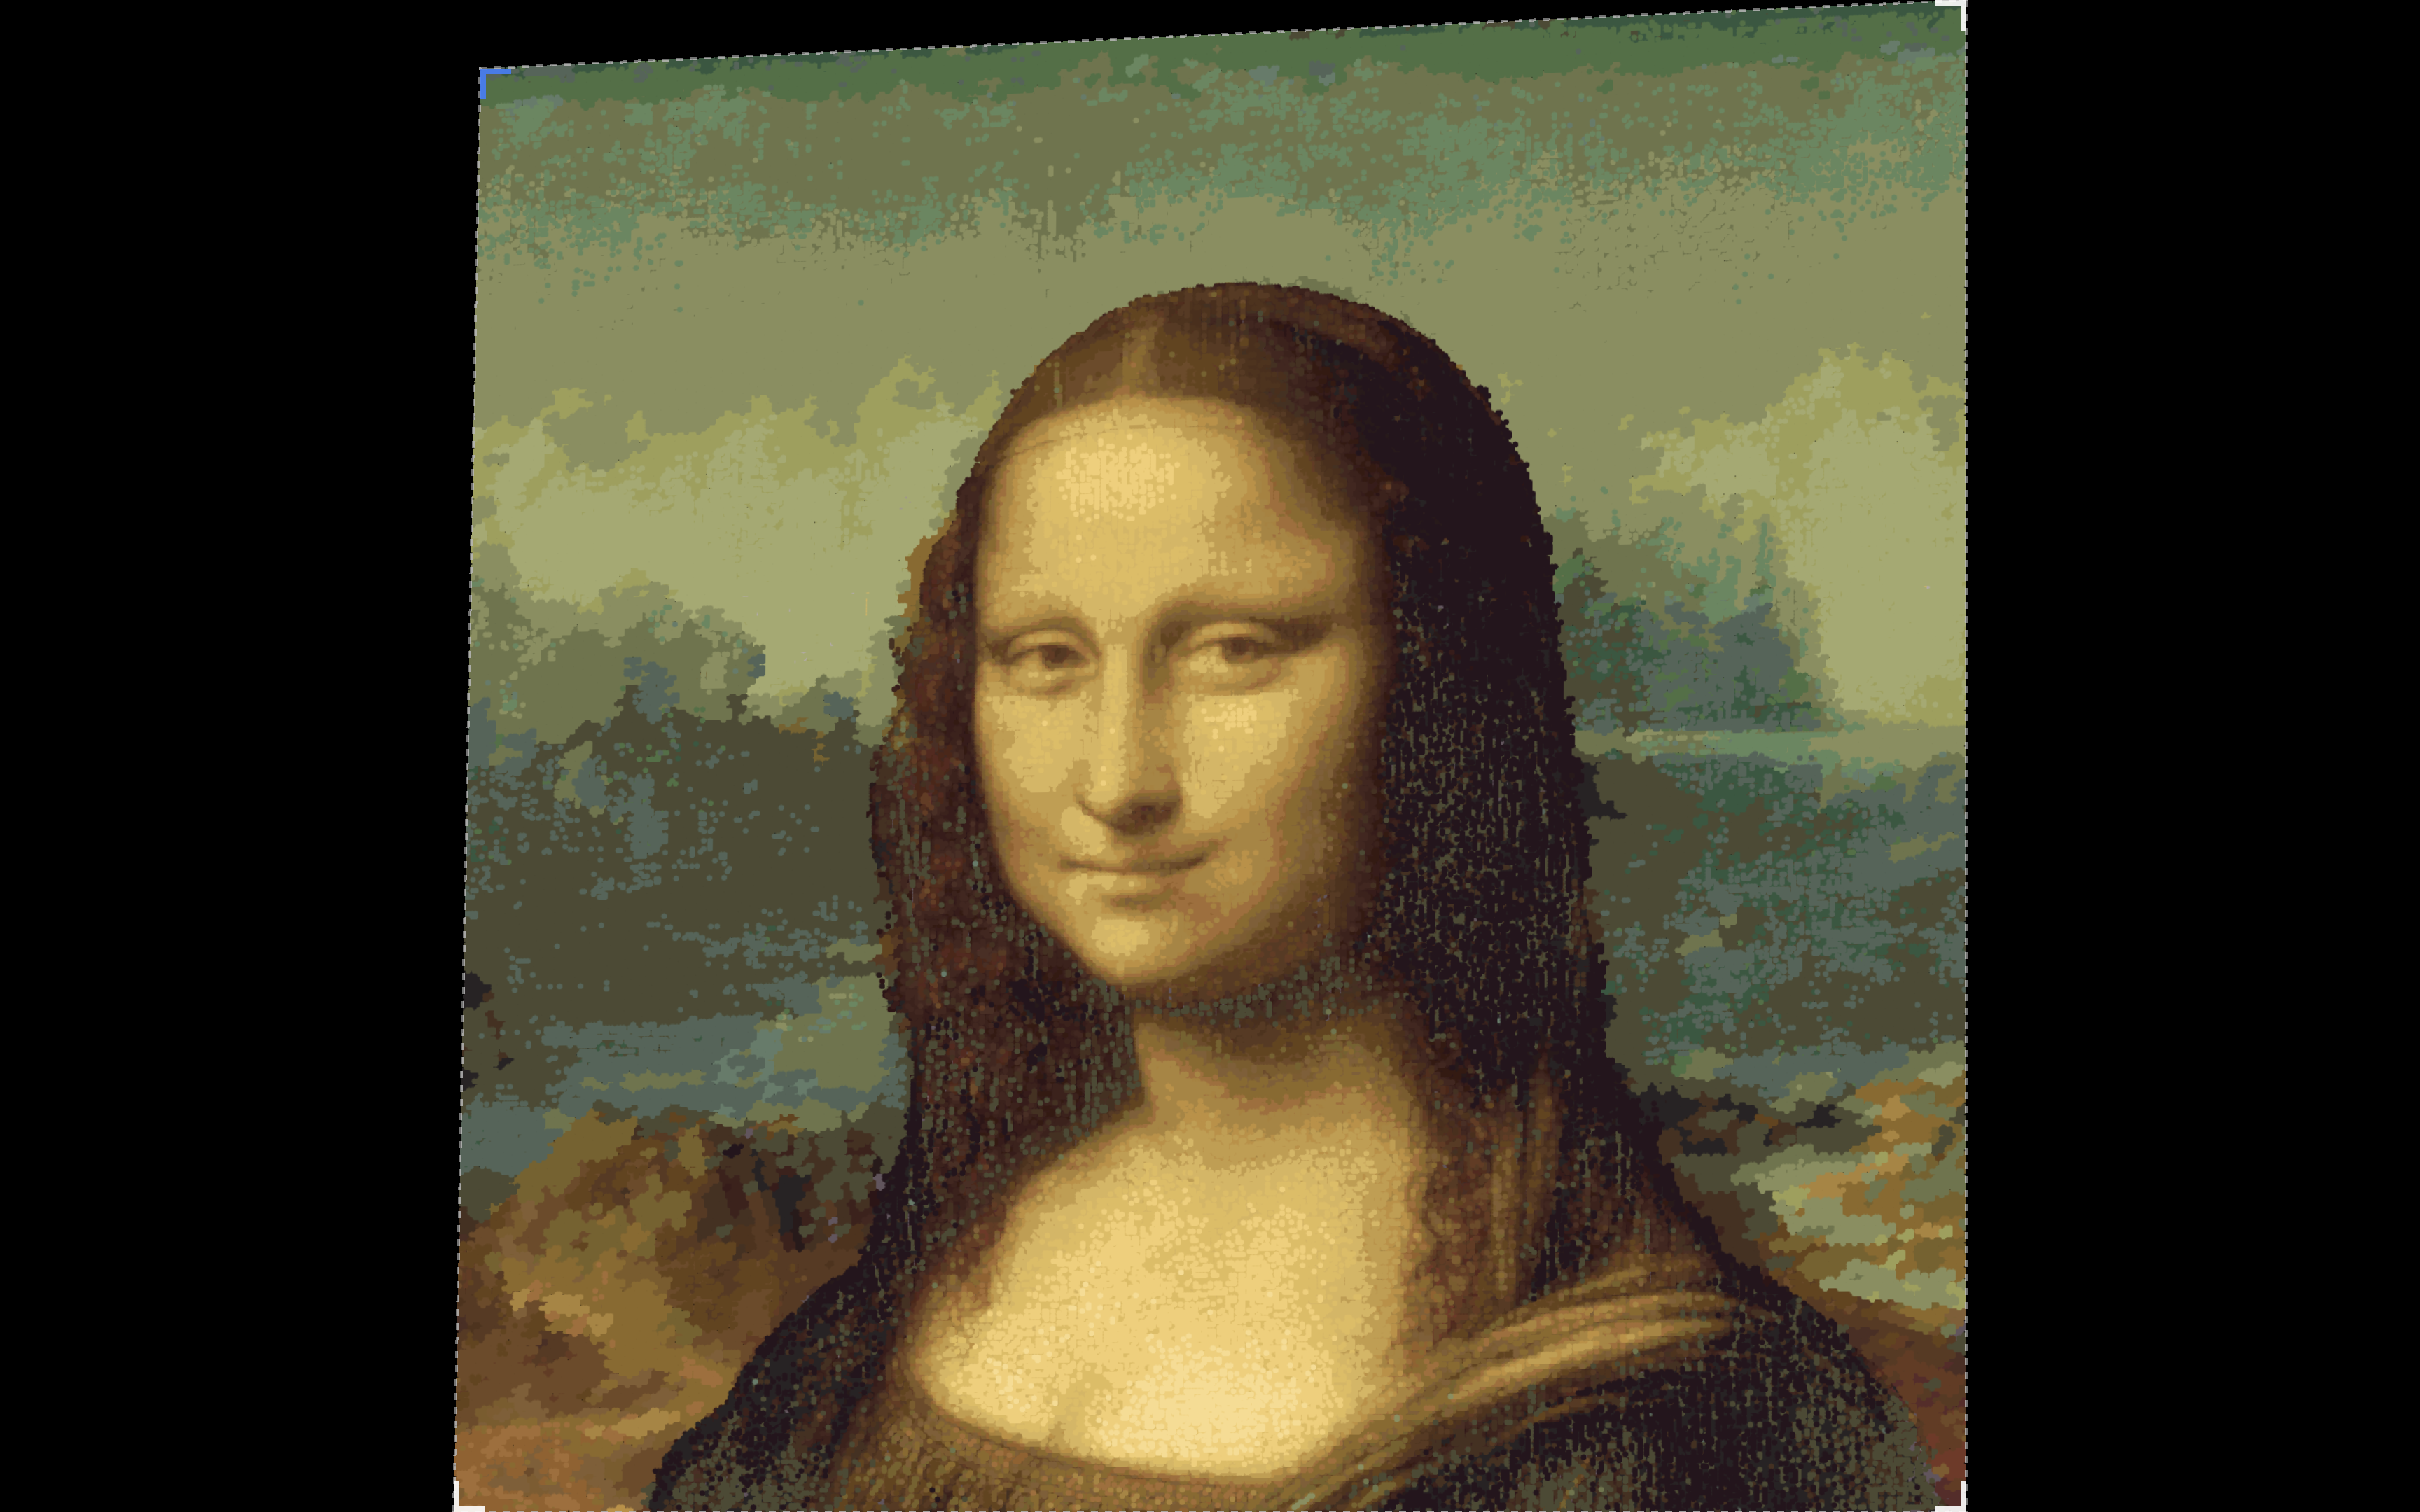
Analyze Complexity Levels
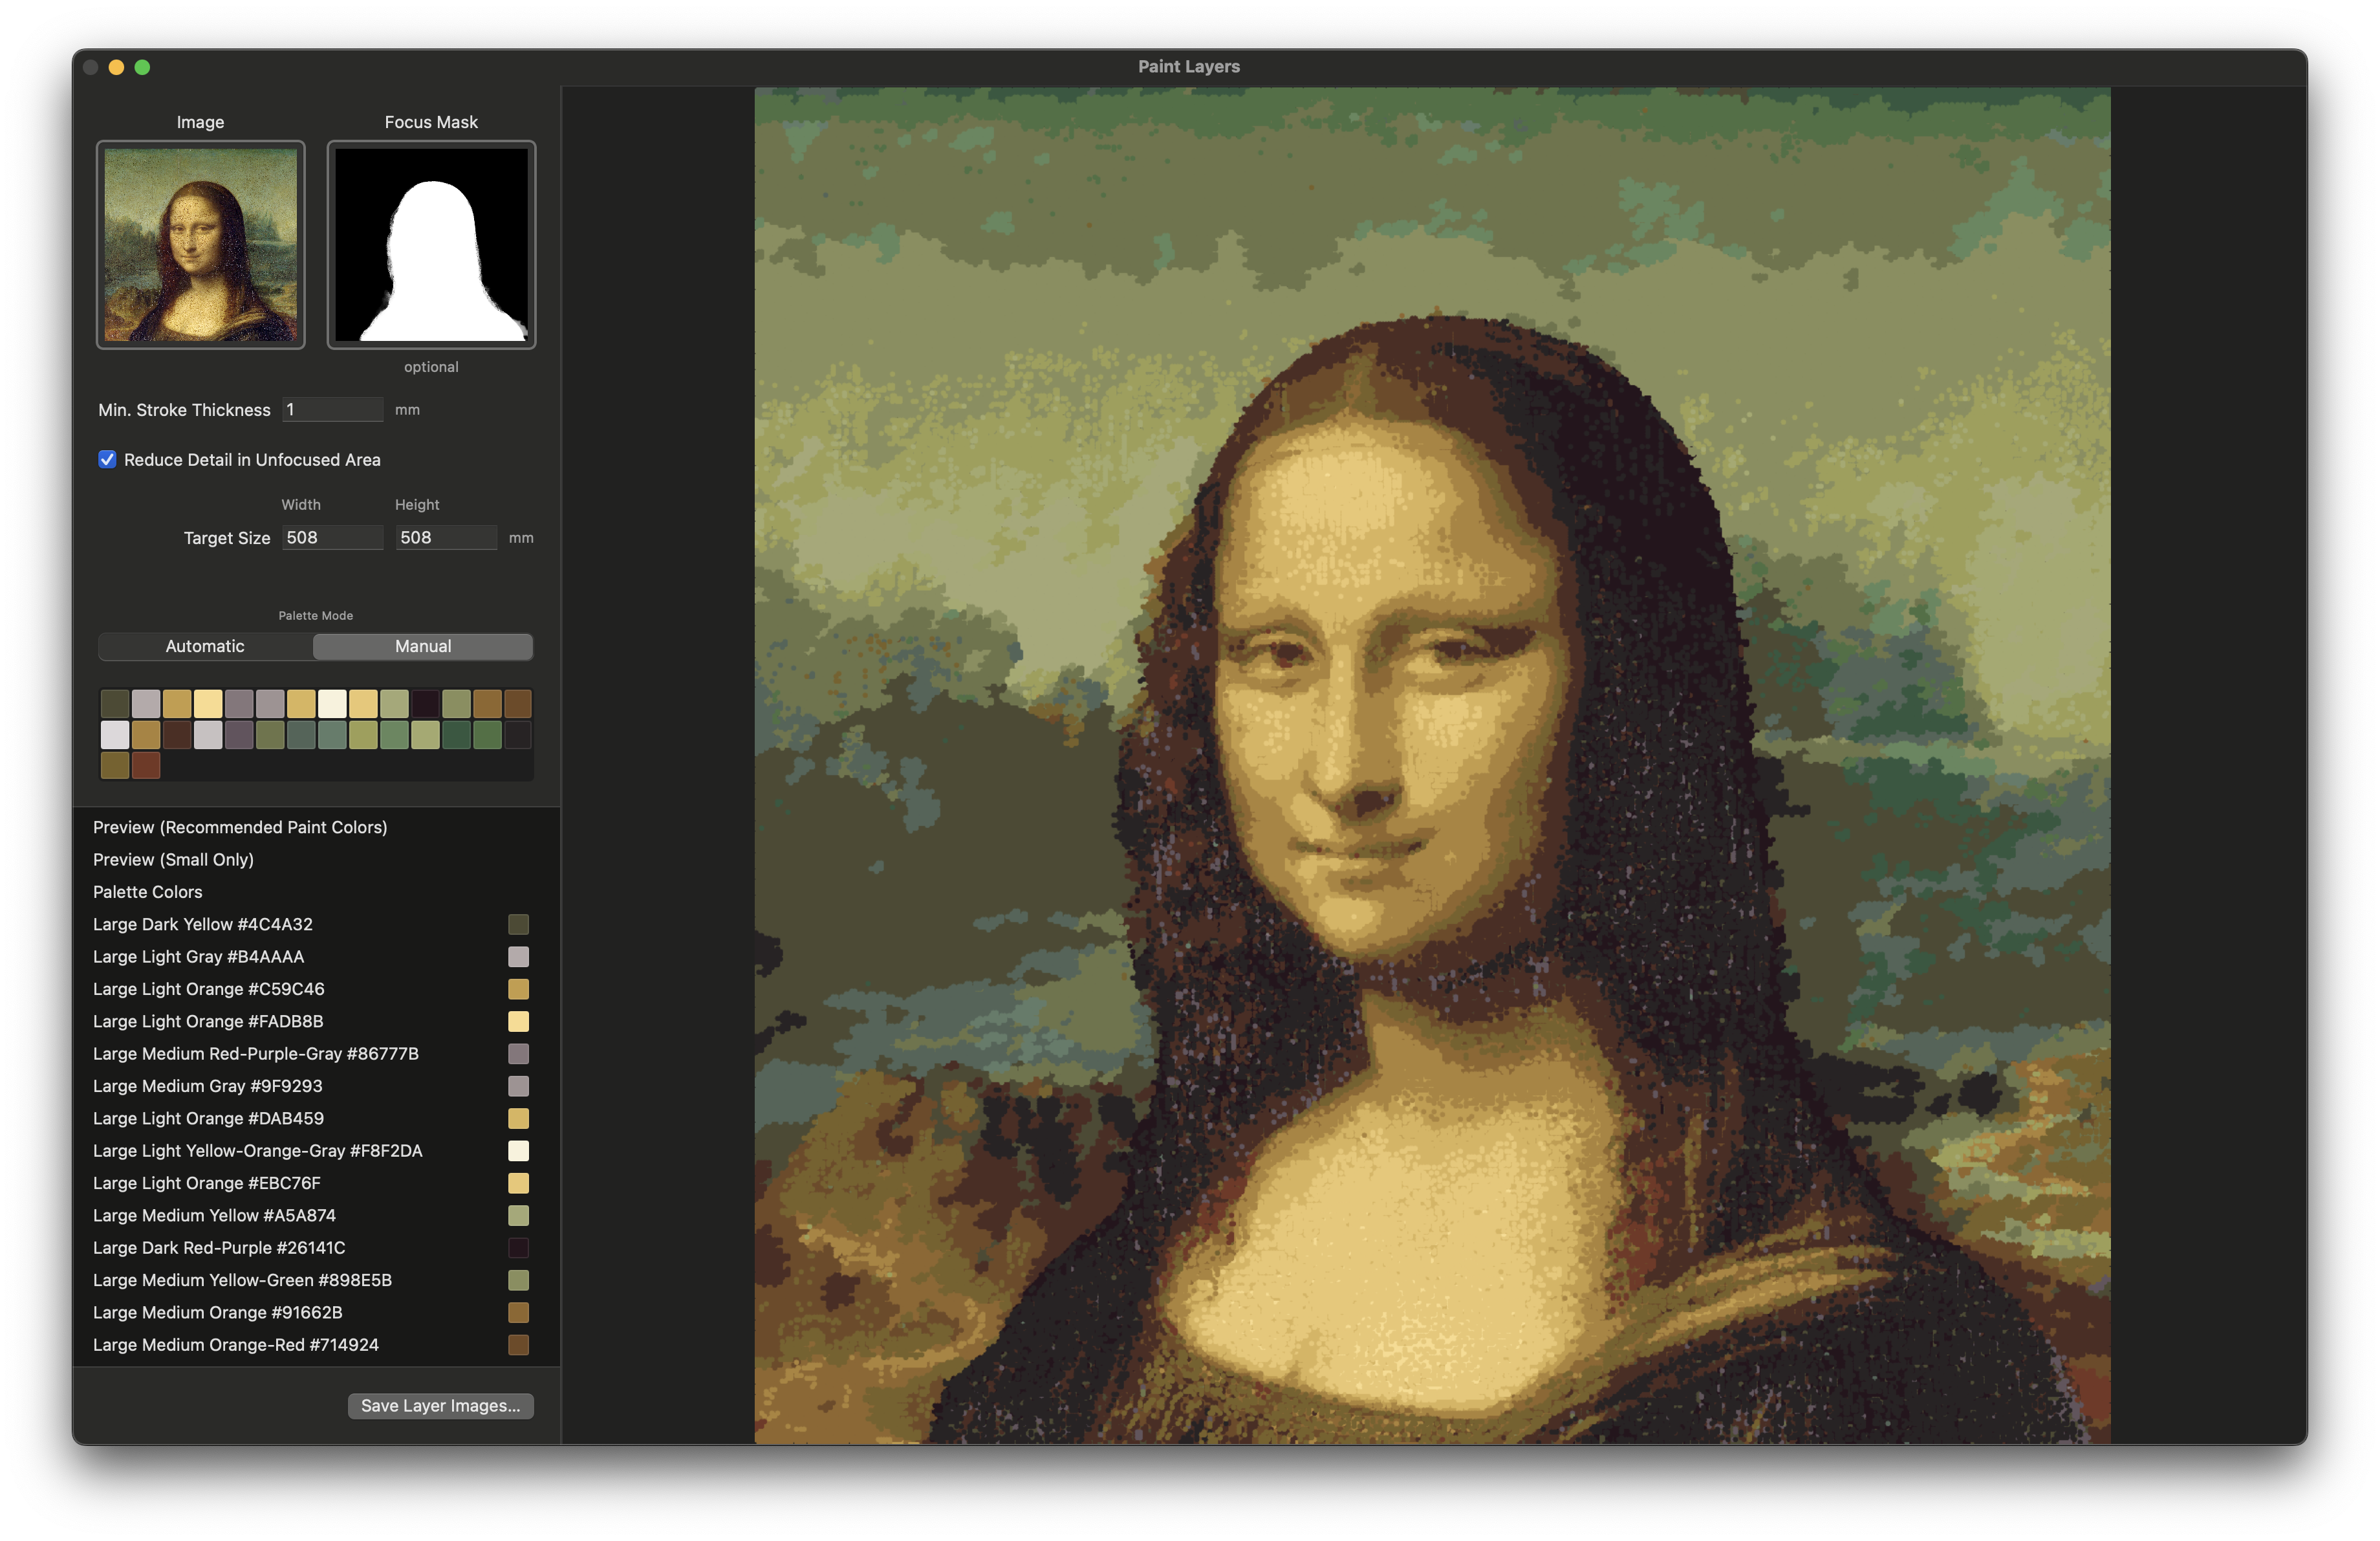
Compare the "Large Only" vs "Small Only" previews. Large strokes form your quick base layer, while small strokes require detailed work. Toggle "reduce detail in unfocused area" to see how this affects painting time.
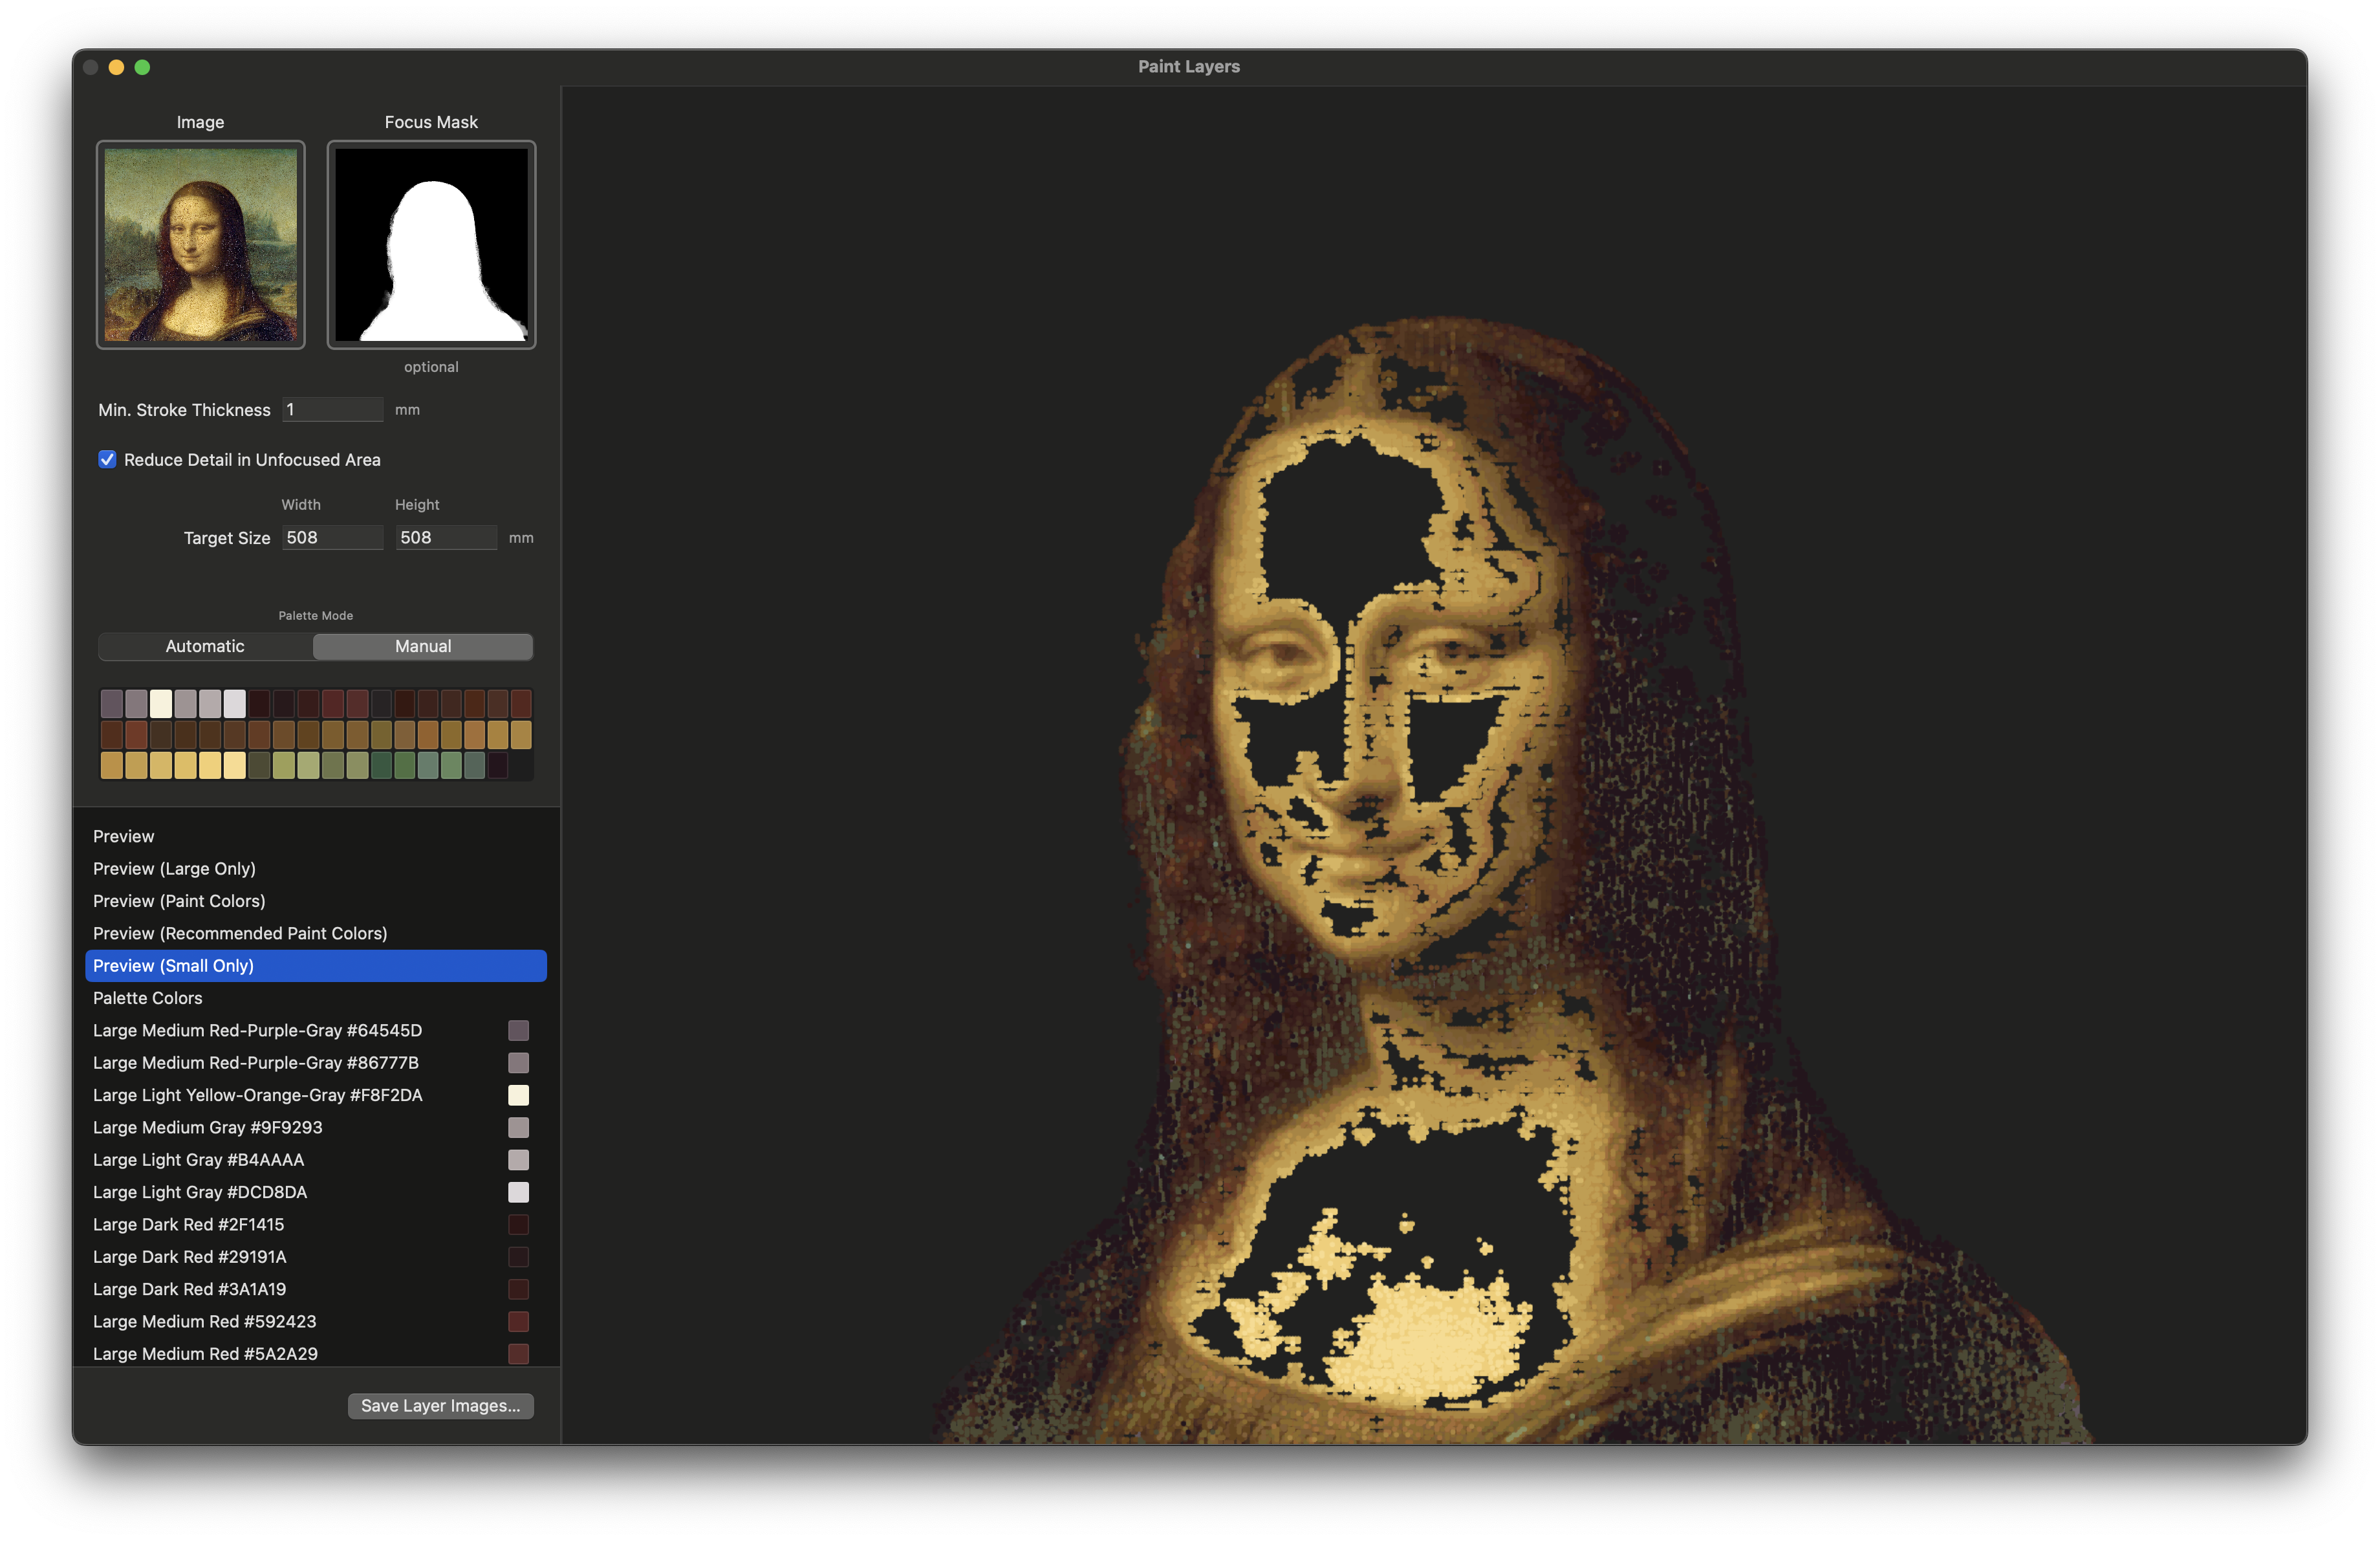

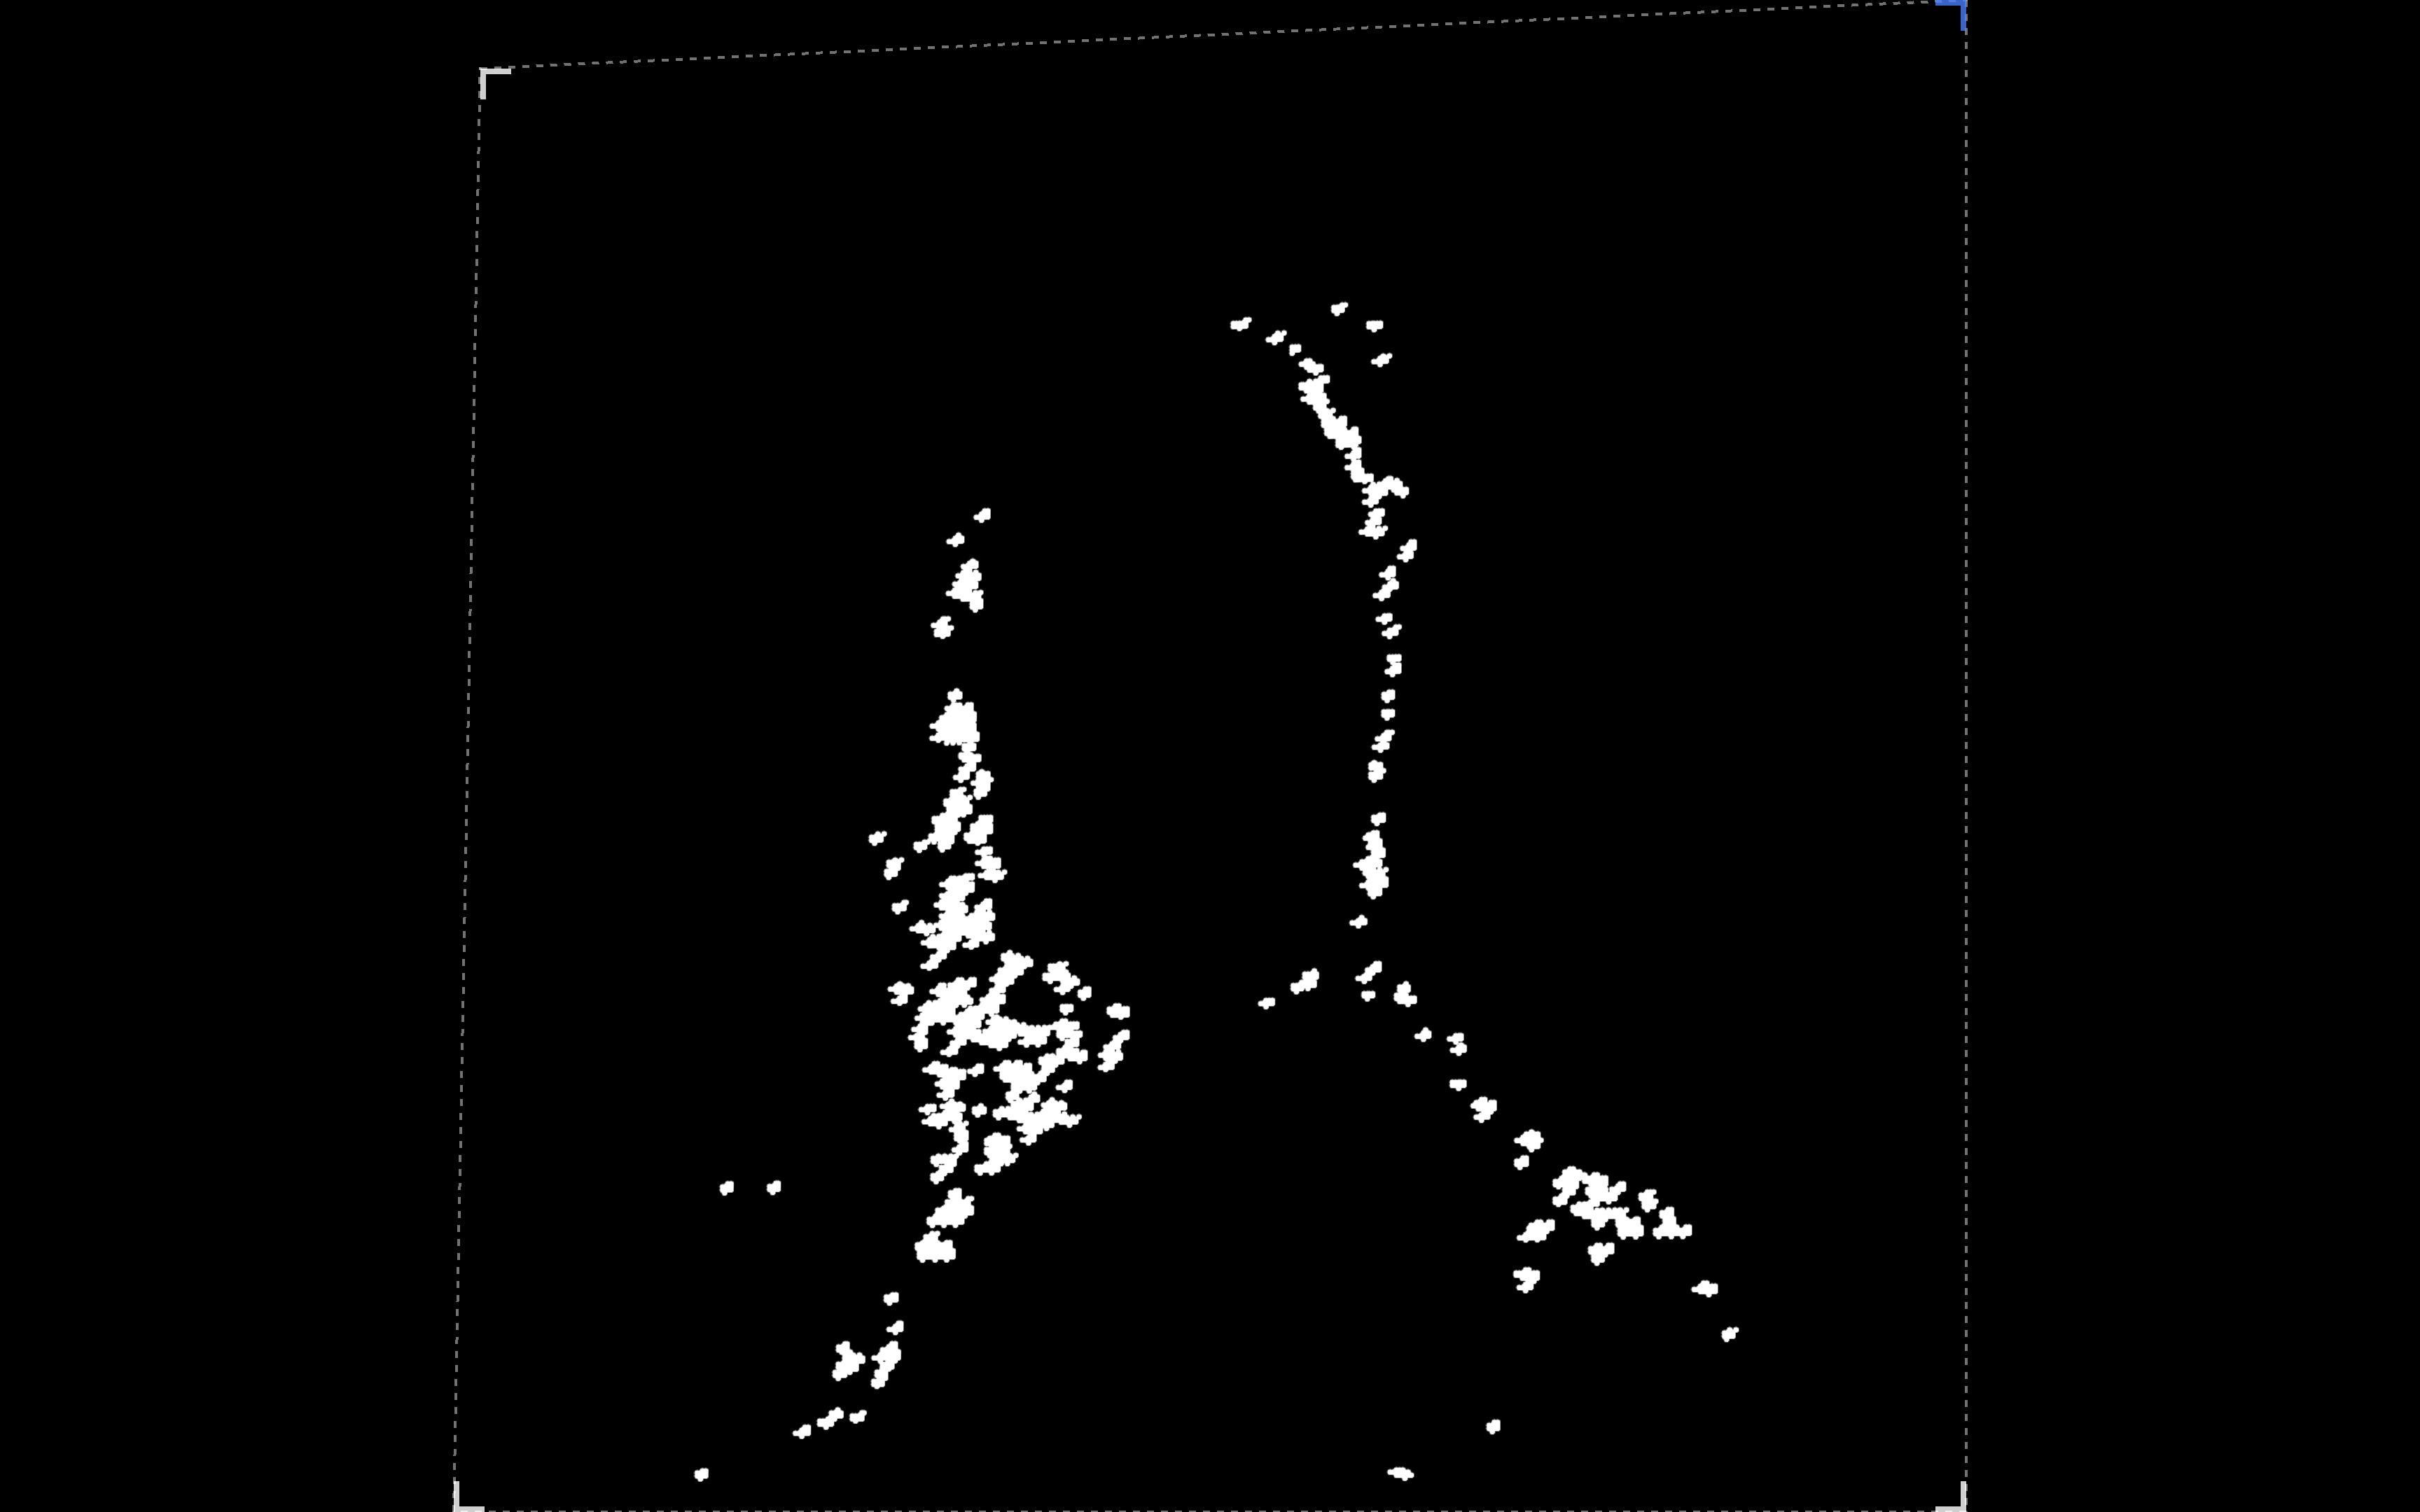
Examine Individual Layers
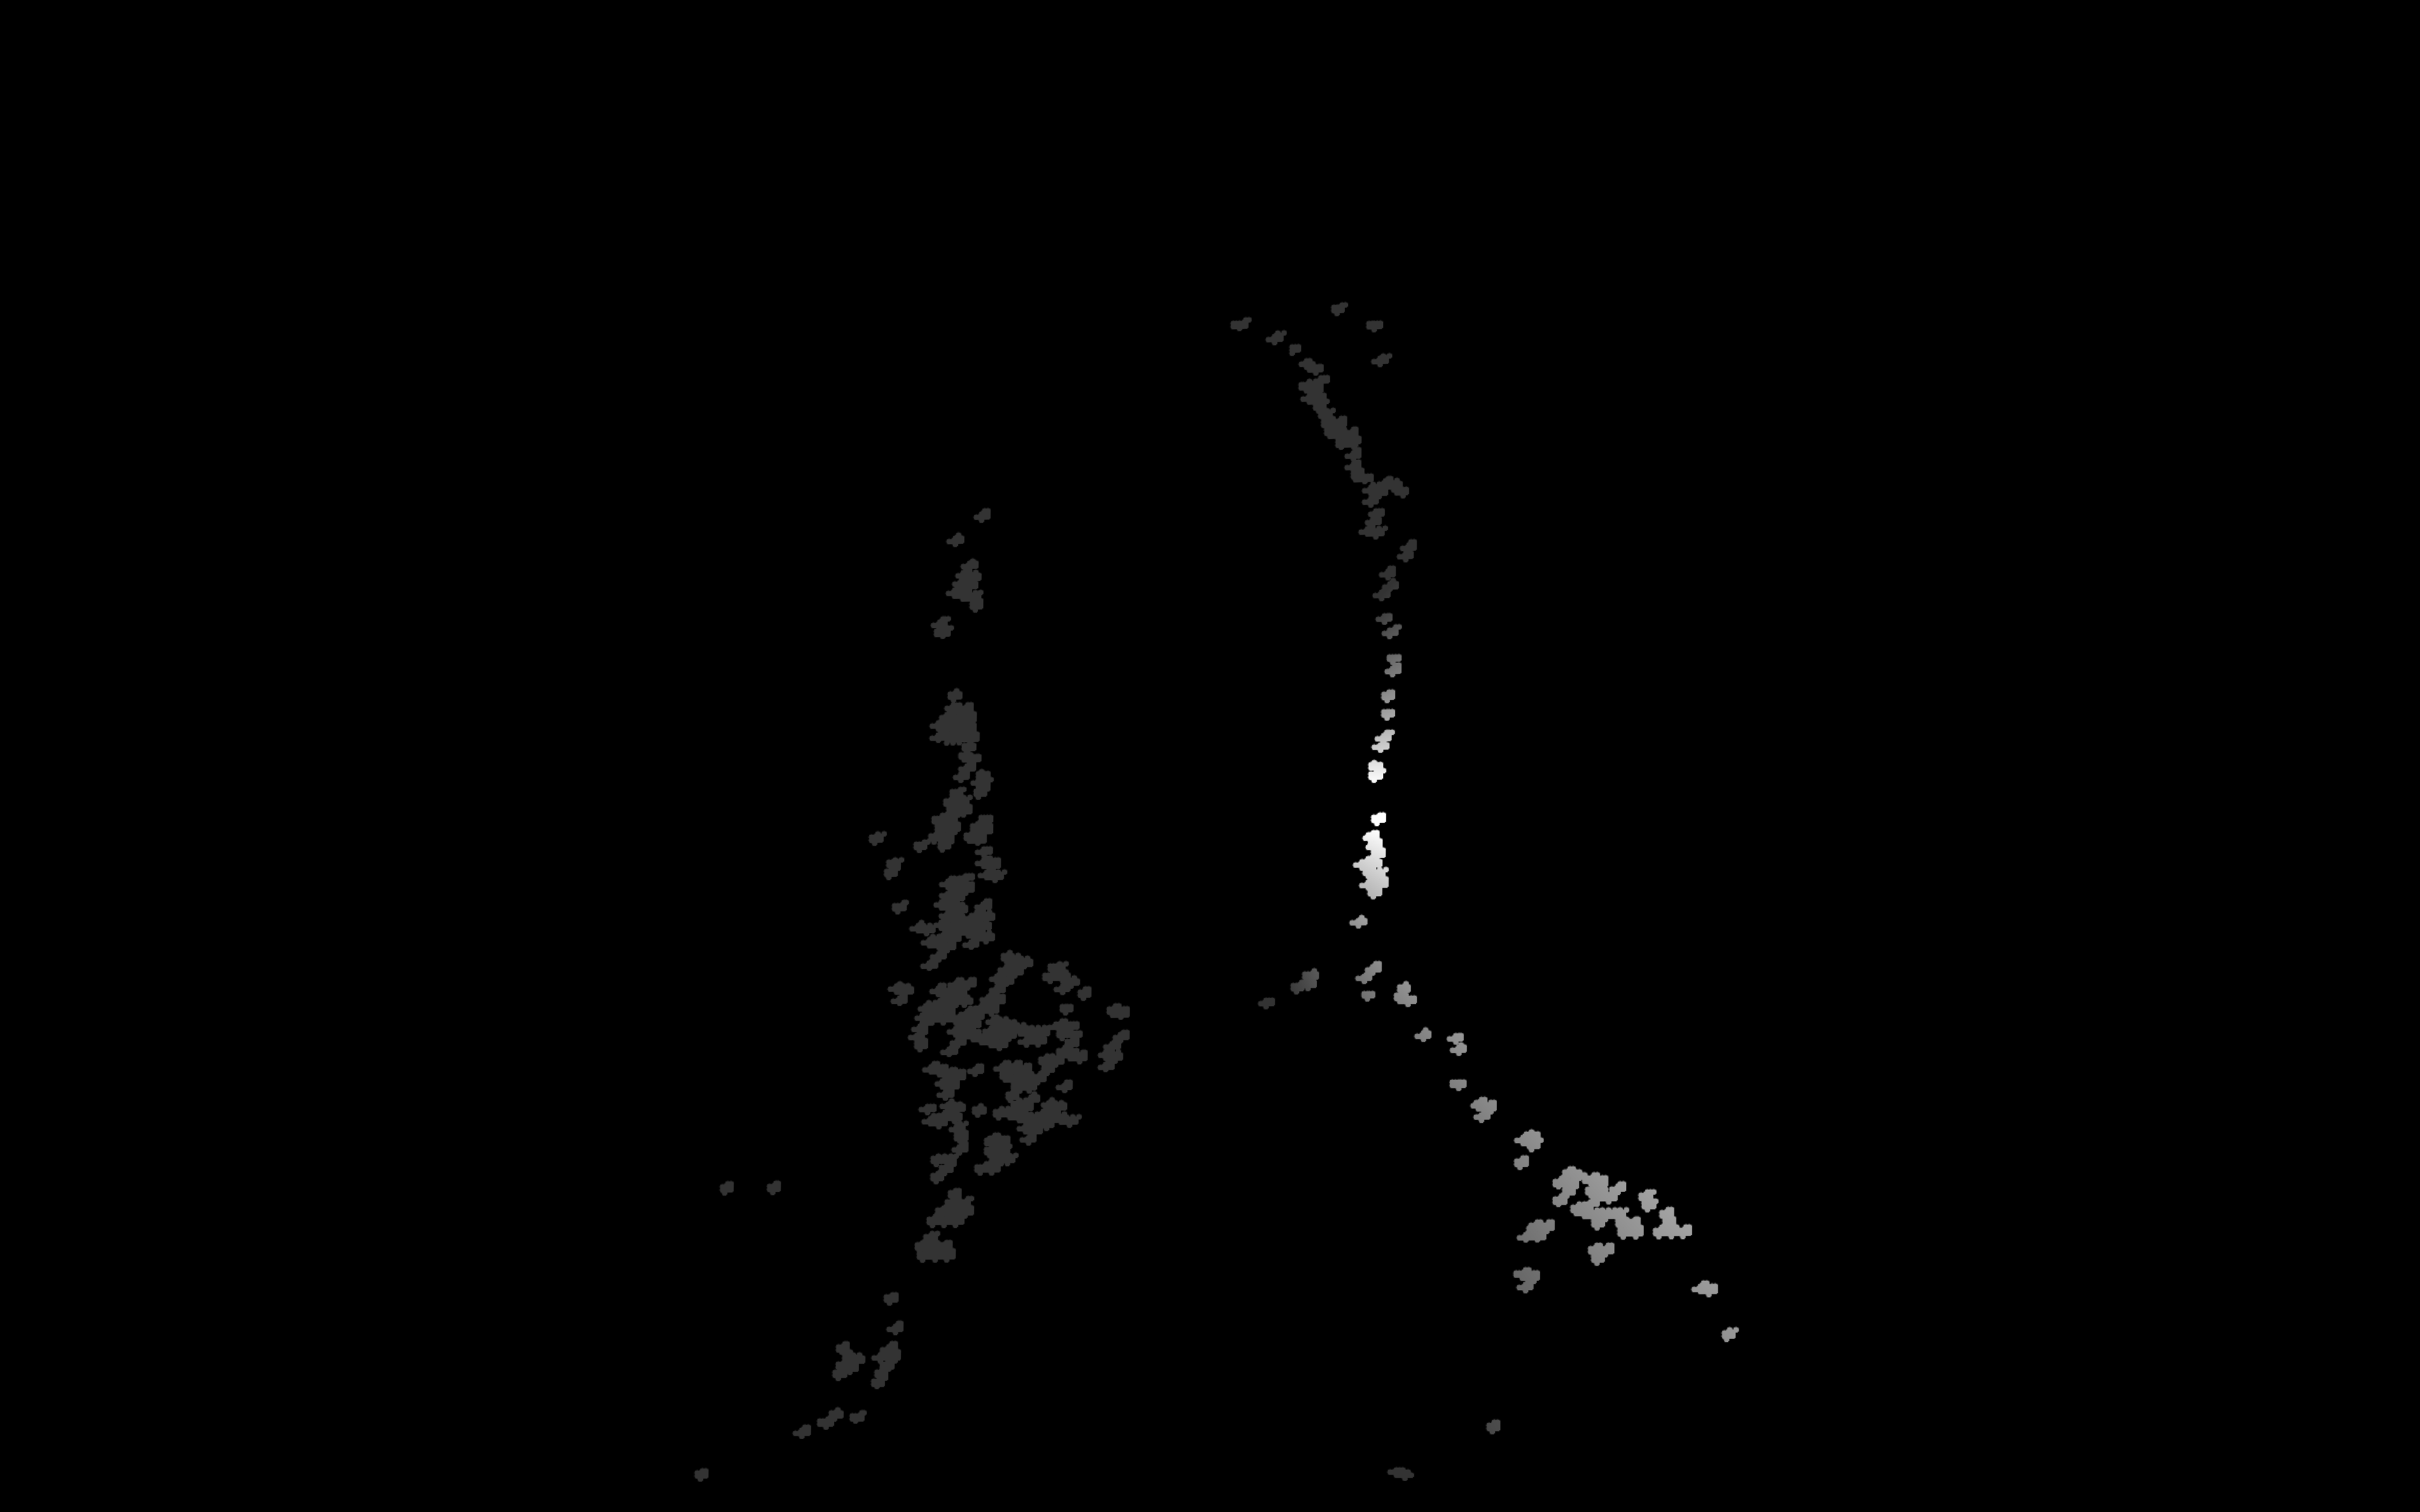
Review each color layer individually using white mode or black mode for better visibility. Pay attention to areas with many small, interspersed dots—these require the most precision and creative planning.
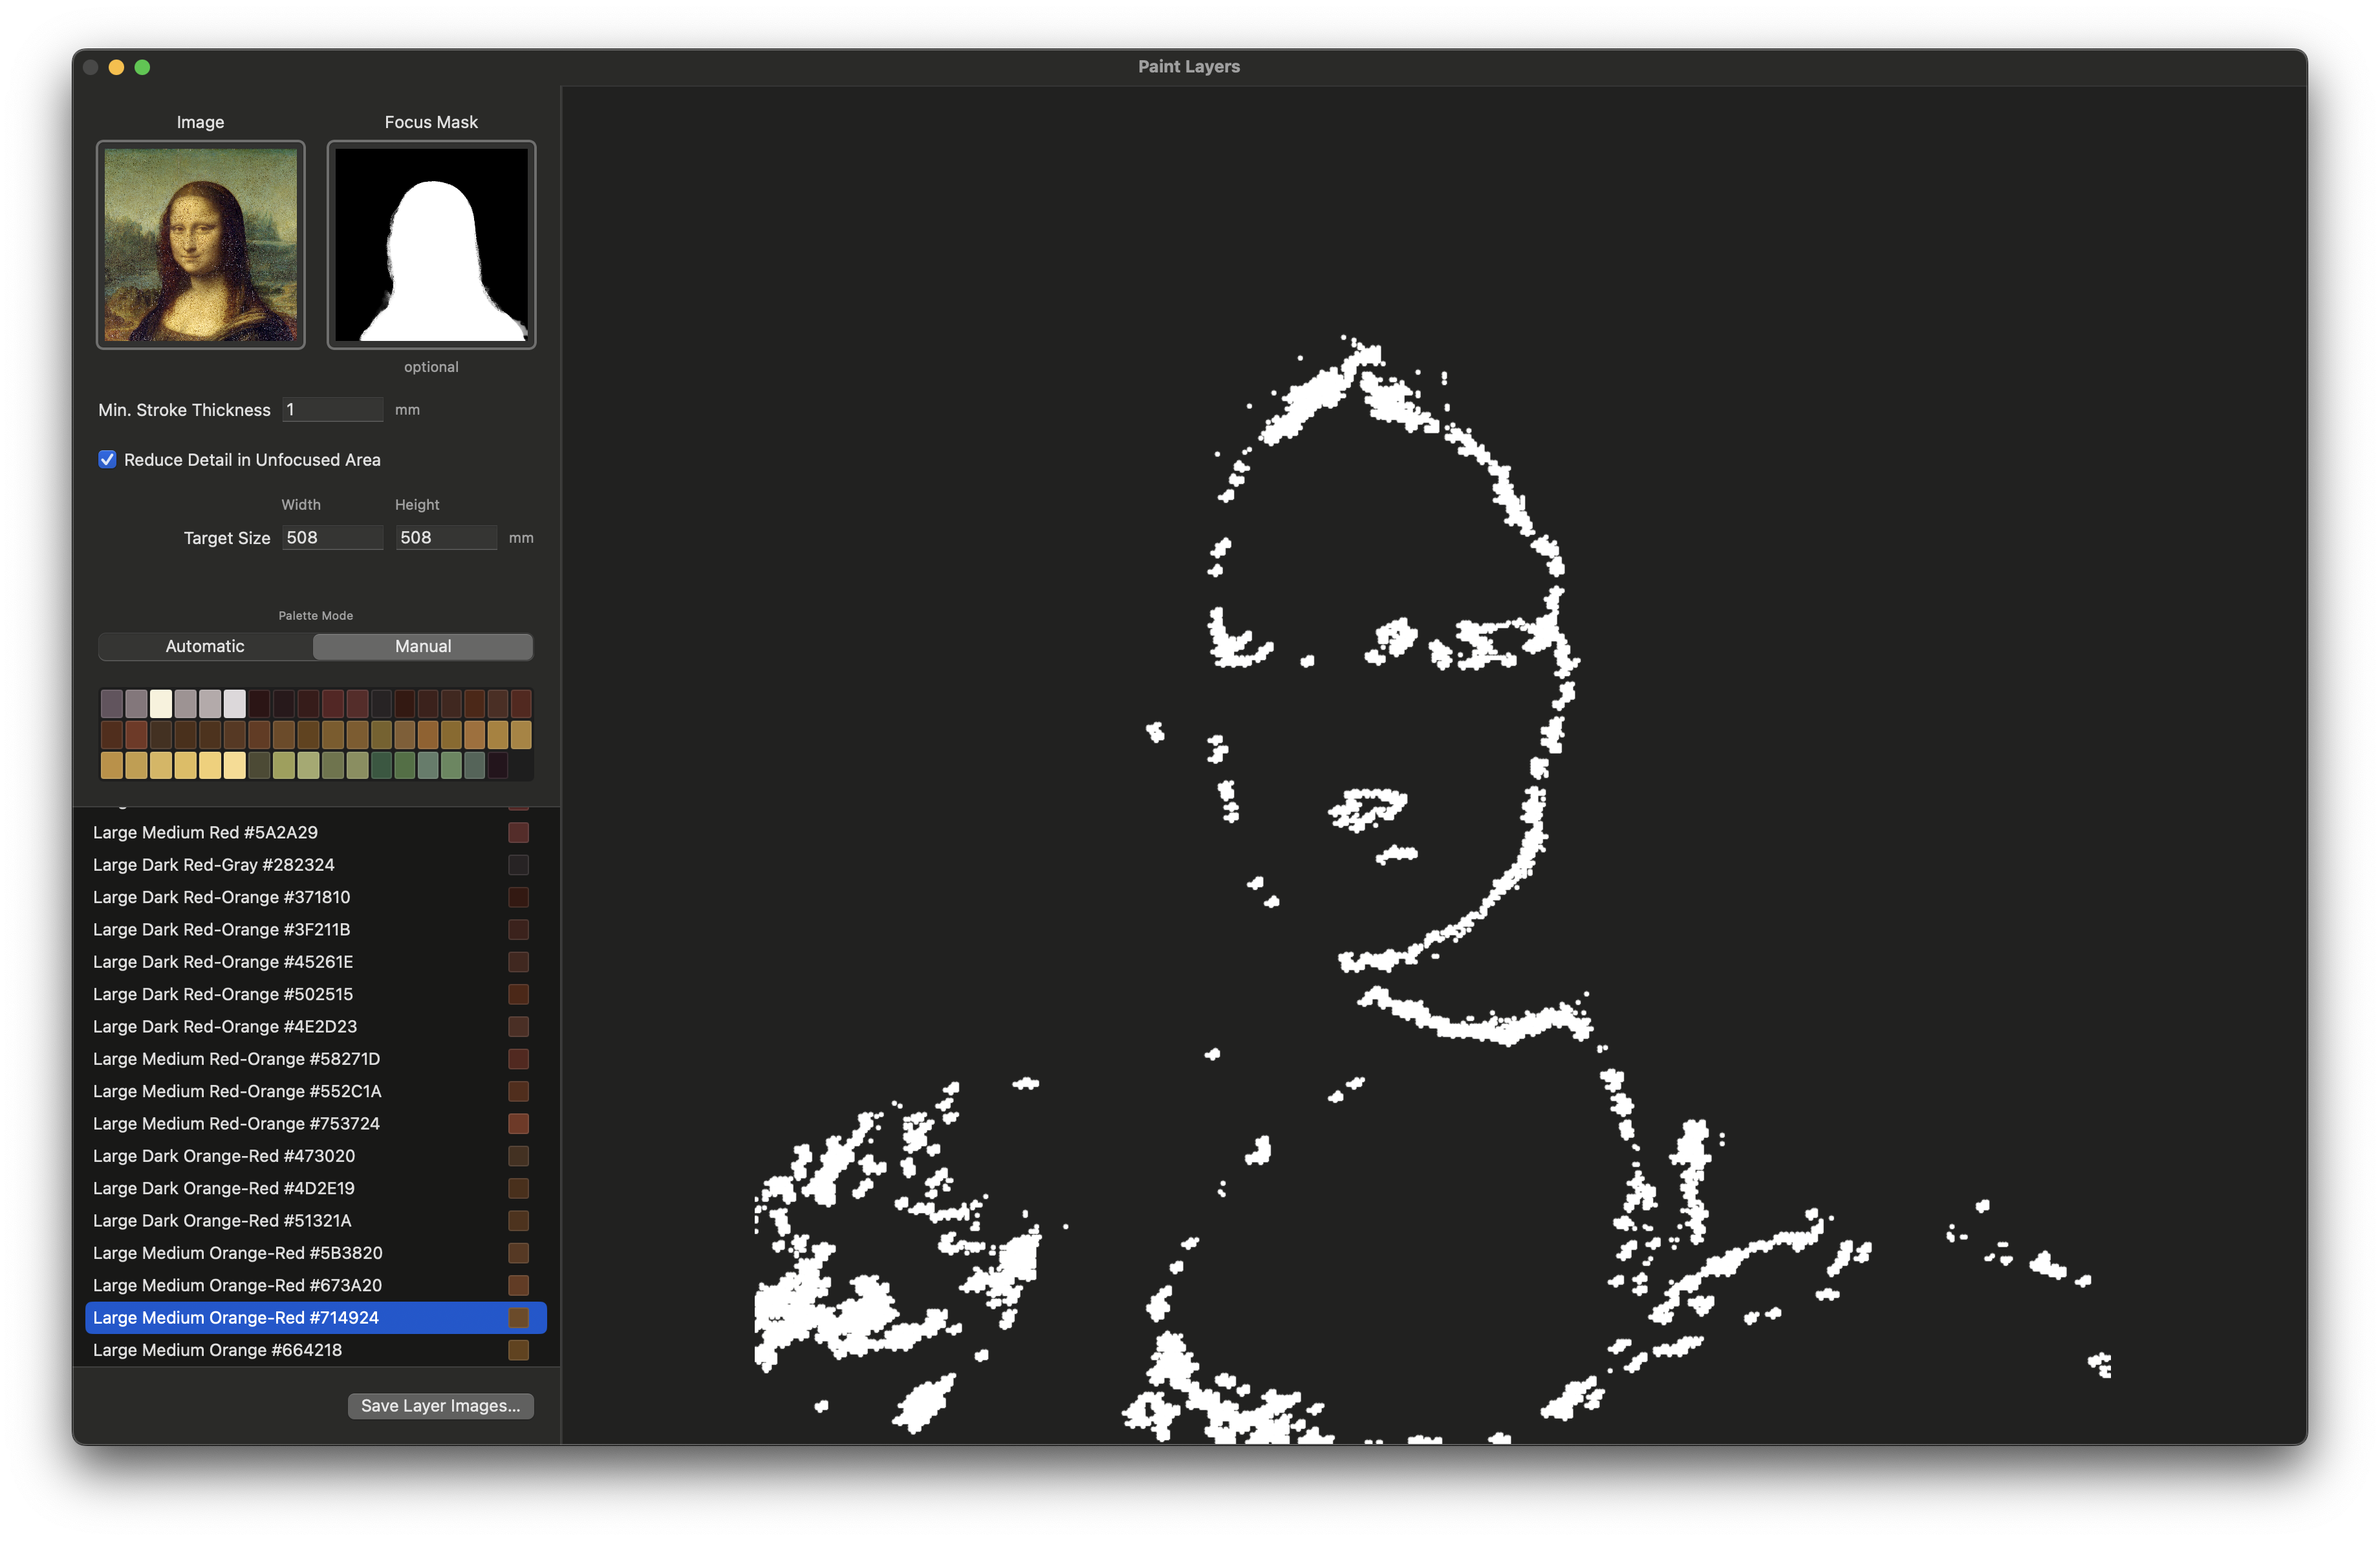
Note: Some layers may appear empty if colors are only used in large OR small strokes, not both.
Export Your Painting Layers
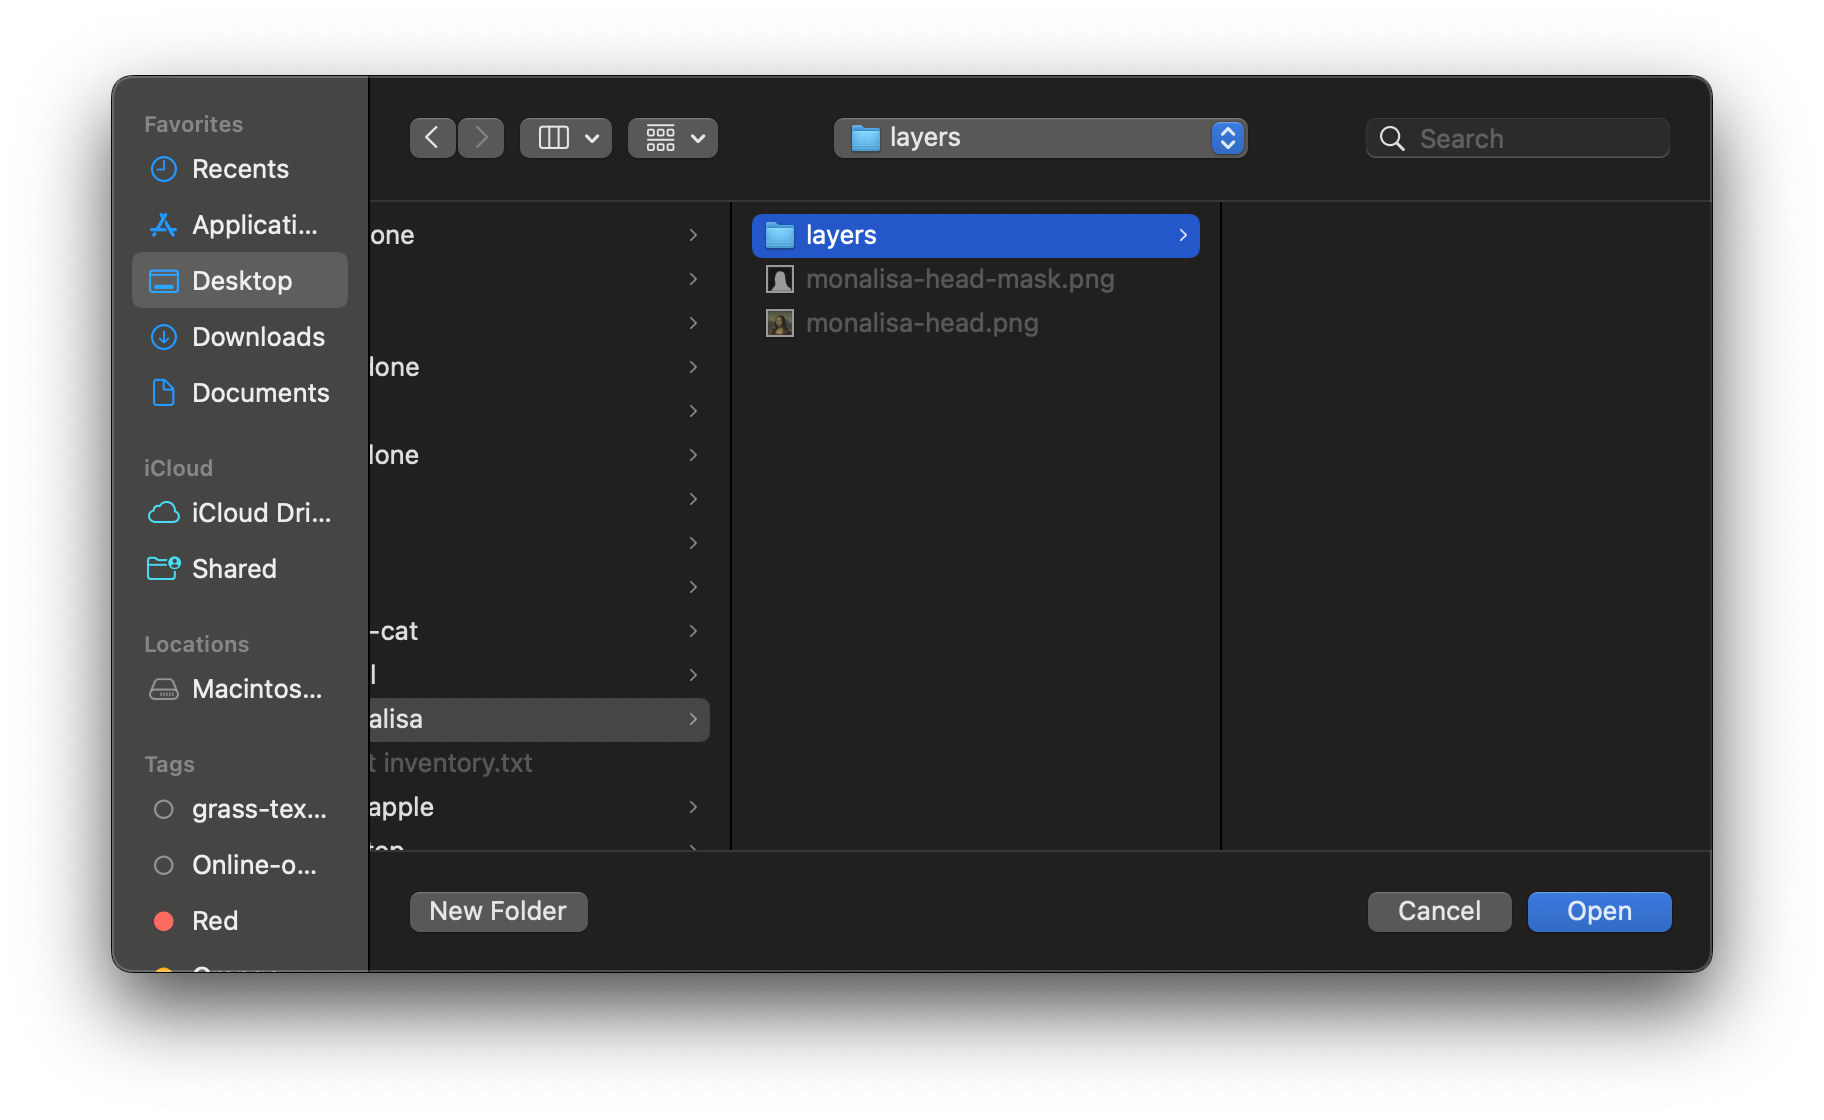
Paint layers are ordered from darkest to lightest within color groups, optimized for opaque paint application. Click "Save Layer Images" and choose your export folder.

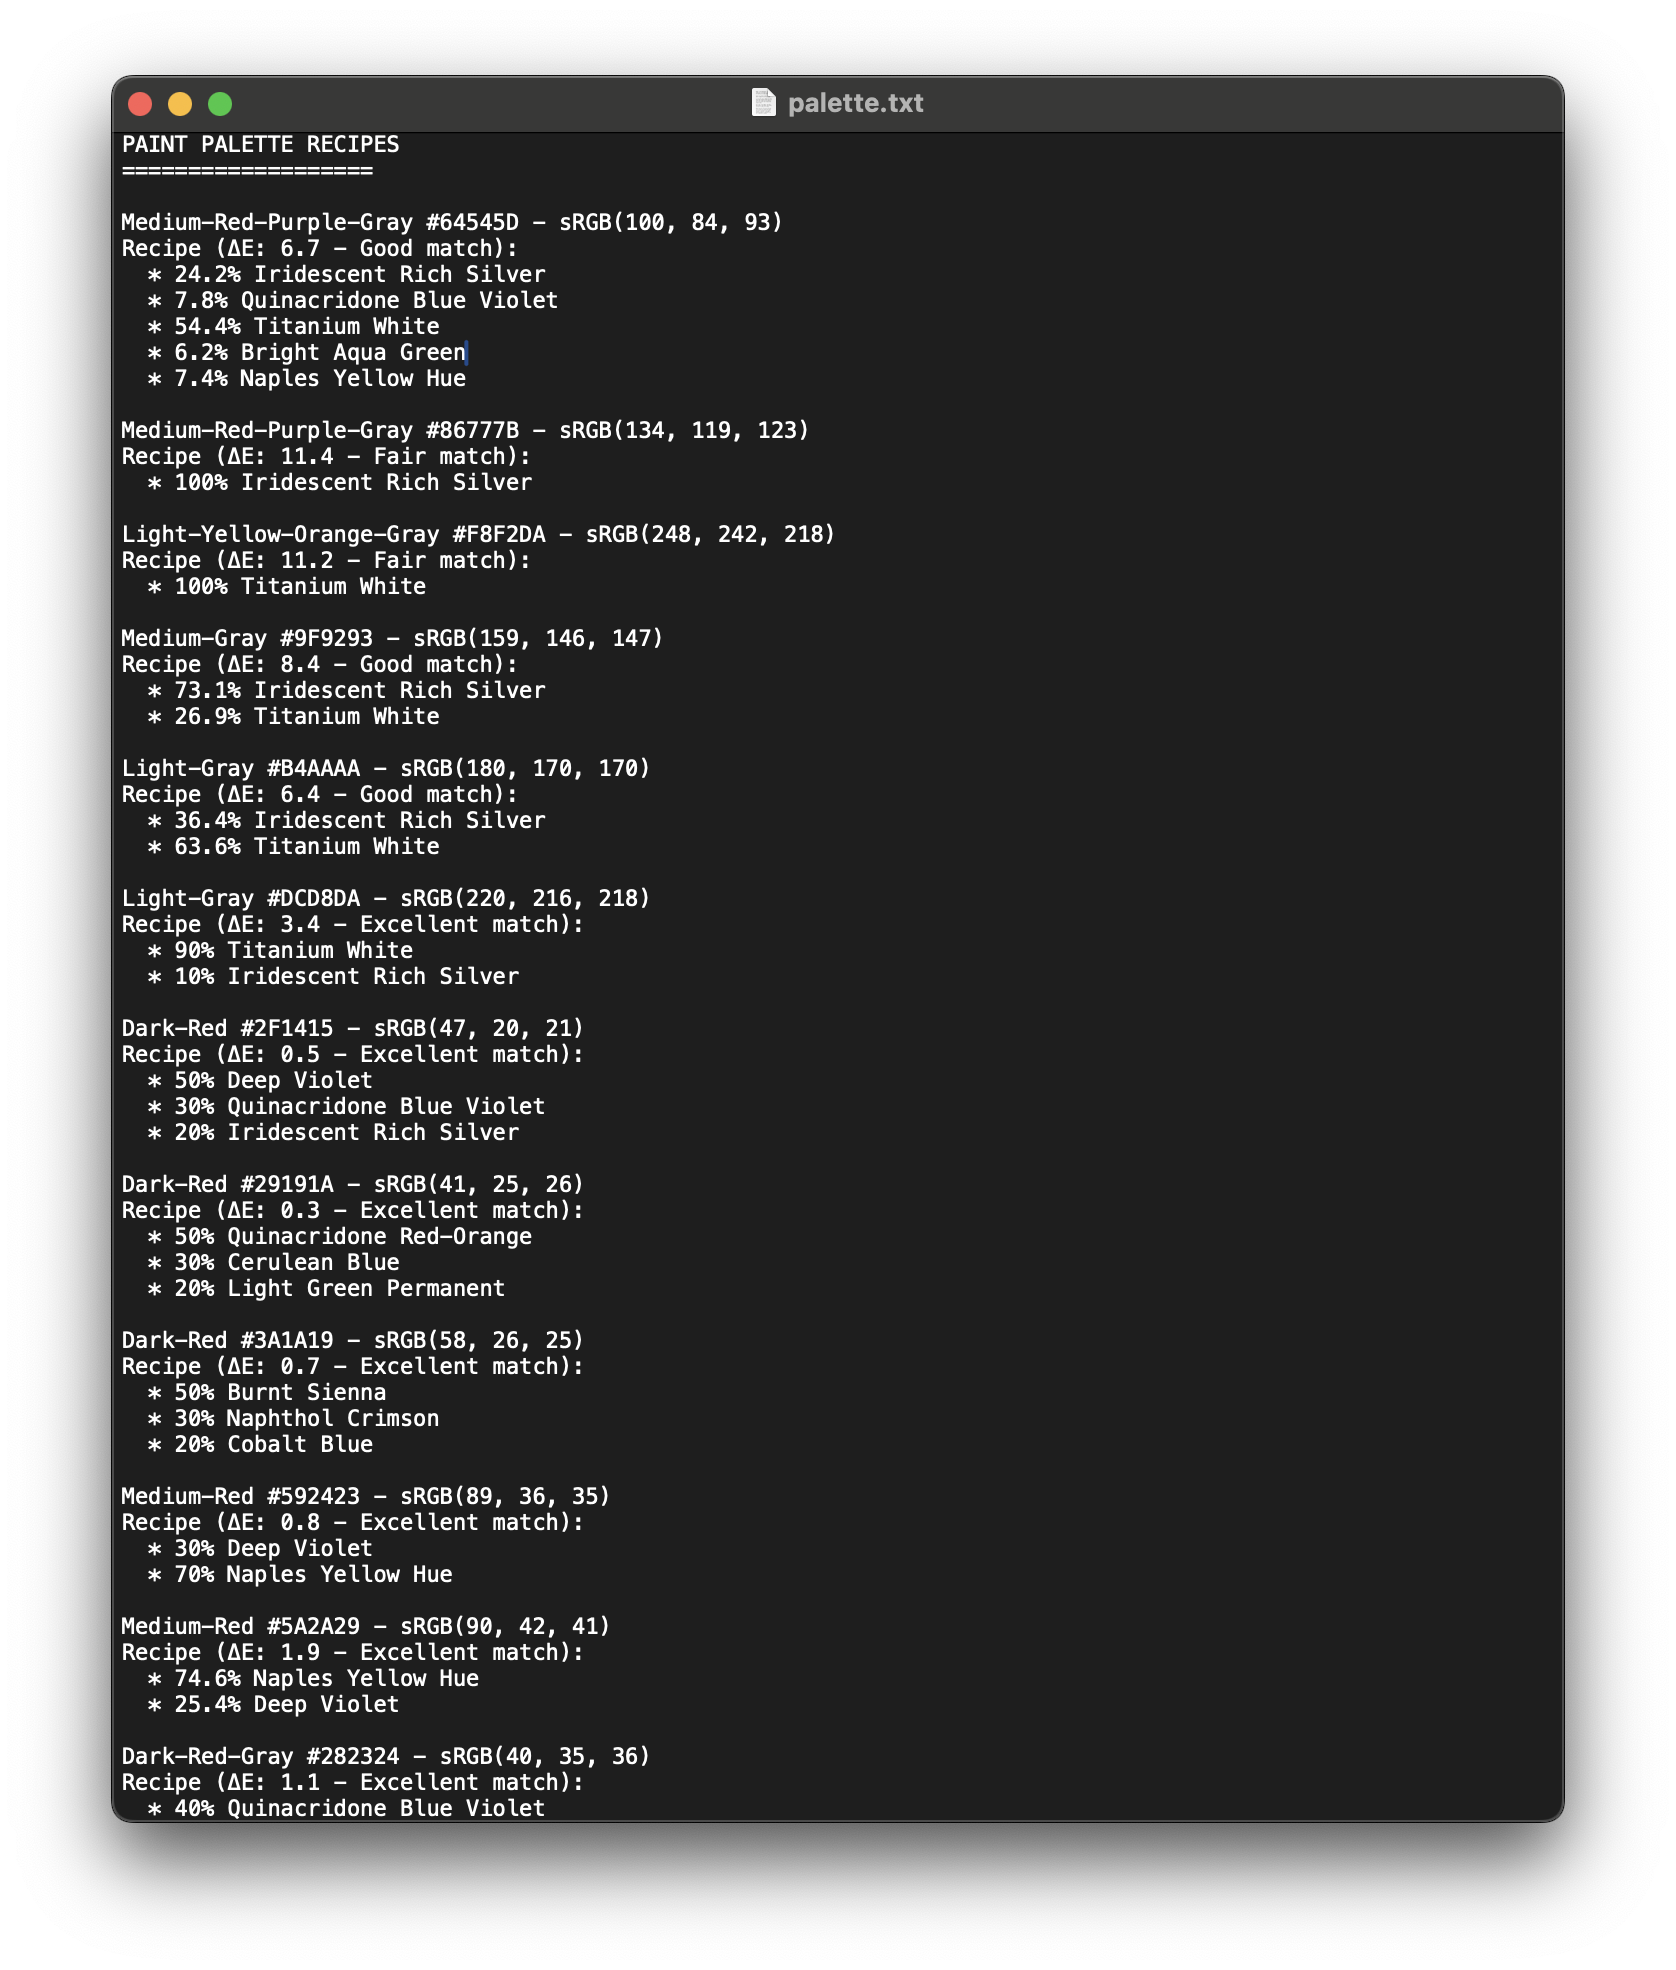
Print Your Paint Recipe
Open and print the palette.txt file for reference. This includes mixing recipes for Liquitex Heavy Body acrylic paints if you're using them.
Part 2: Projecting with Image Skewer
Import Your Layers
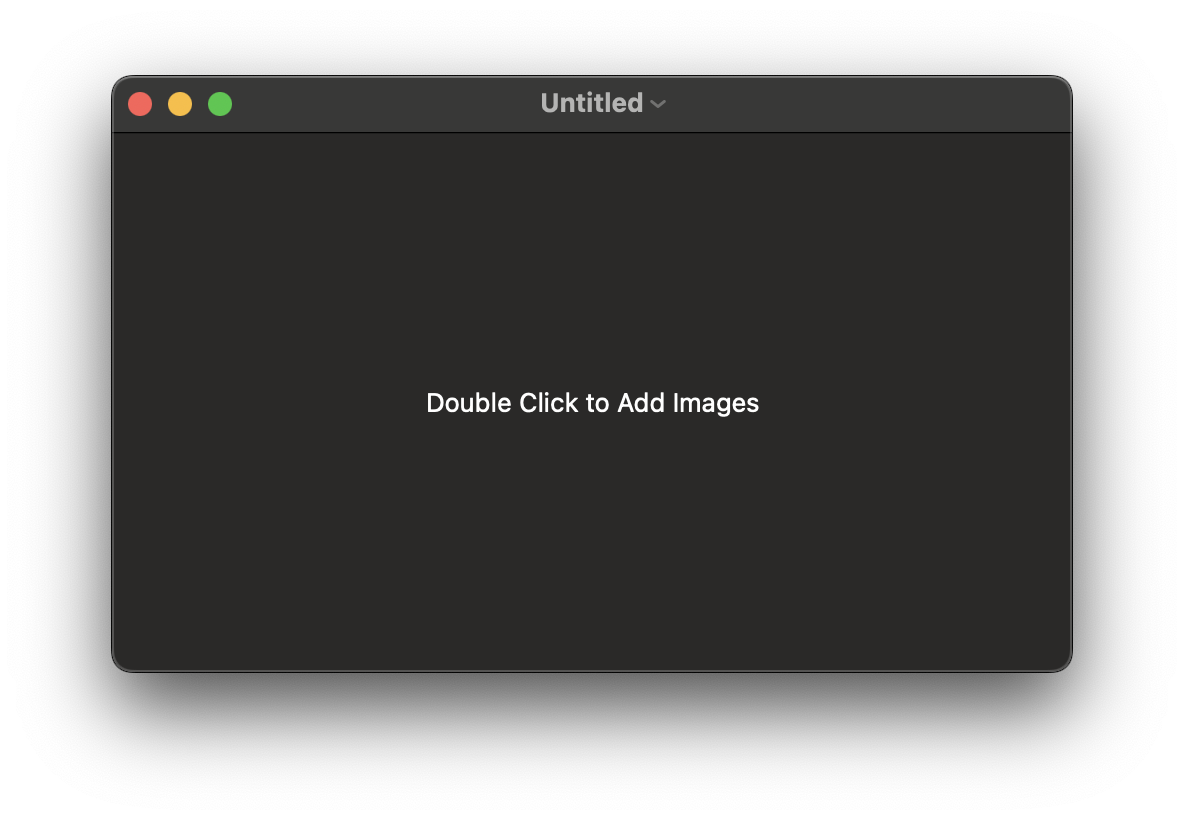
Open Image Skewer and drag all your exported layer files (beginning with "layer-") onto the document. Include preview.png for reference alignment.
Set Up Your Projector
- Connect your projector to your computer
- Align the projector to fully cover your canvas
- Focus the projection for sharp edges
- Switch to full-screen mode in Image Skewer
- Start with the preview image in white mode (solid white block)
Perfect Your Alignment
Drag the corner controls to align the projection with your canvas corners. It's better to project slightly over the edges than to fall short. Learn the keyboard shortcuts: ⌘+← (previous) and ⌘+→ (next).
Start Painting
Work through the large layers quickly, then move methodically through the small layers. Follow the provided order unless you've planned a more optimal sequence for your specific project.
Pro Tips: For large areas of solid color, consider penciling outlines without the projector. Use VFX modes like radar sweep to reduce visual interference when assessing your progress.